DIY Quilted Hoodie Quilt-A-Long: Week 2
Welcome to Week 2 of the DIY Quilted Hoodie QAL!
I am so glad you are back. This week we're cutting the sections using printed templates. I'll walk you through cutting your sections, add tips to make the process easier, and share a few changes I made to my second hoodie. But first, there are a few FAQ's from last week:
-
What is the seam allowance? On the templates, you’ll see the seam allowance is 1cm which is basically a generous 1/4” seam allowance.
-
How do I choose a quilt size? A large throw should accommodate most sizes, but lay out all the templates before cutting. If you want the freedom to choose specific parts of the quilt (ie: you want a specific part of the design on the back panel), increase the fabric requirements.
-
How do I know which size to select? I PROMISE I'LL ADD A SIZING GUIDE TO MY NEXT GARMENT. Totally a rookie mistake, and I apologize. In the meantime, all I can say is — make a test version if you are uncertain! I’ve actually seen many making practice hoodies, and I am so proud of you!!!
-
Do you have a project file? No, it's also on the “add to next pattern” list.
-
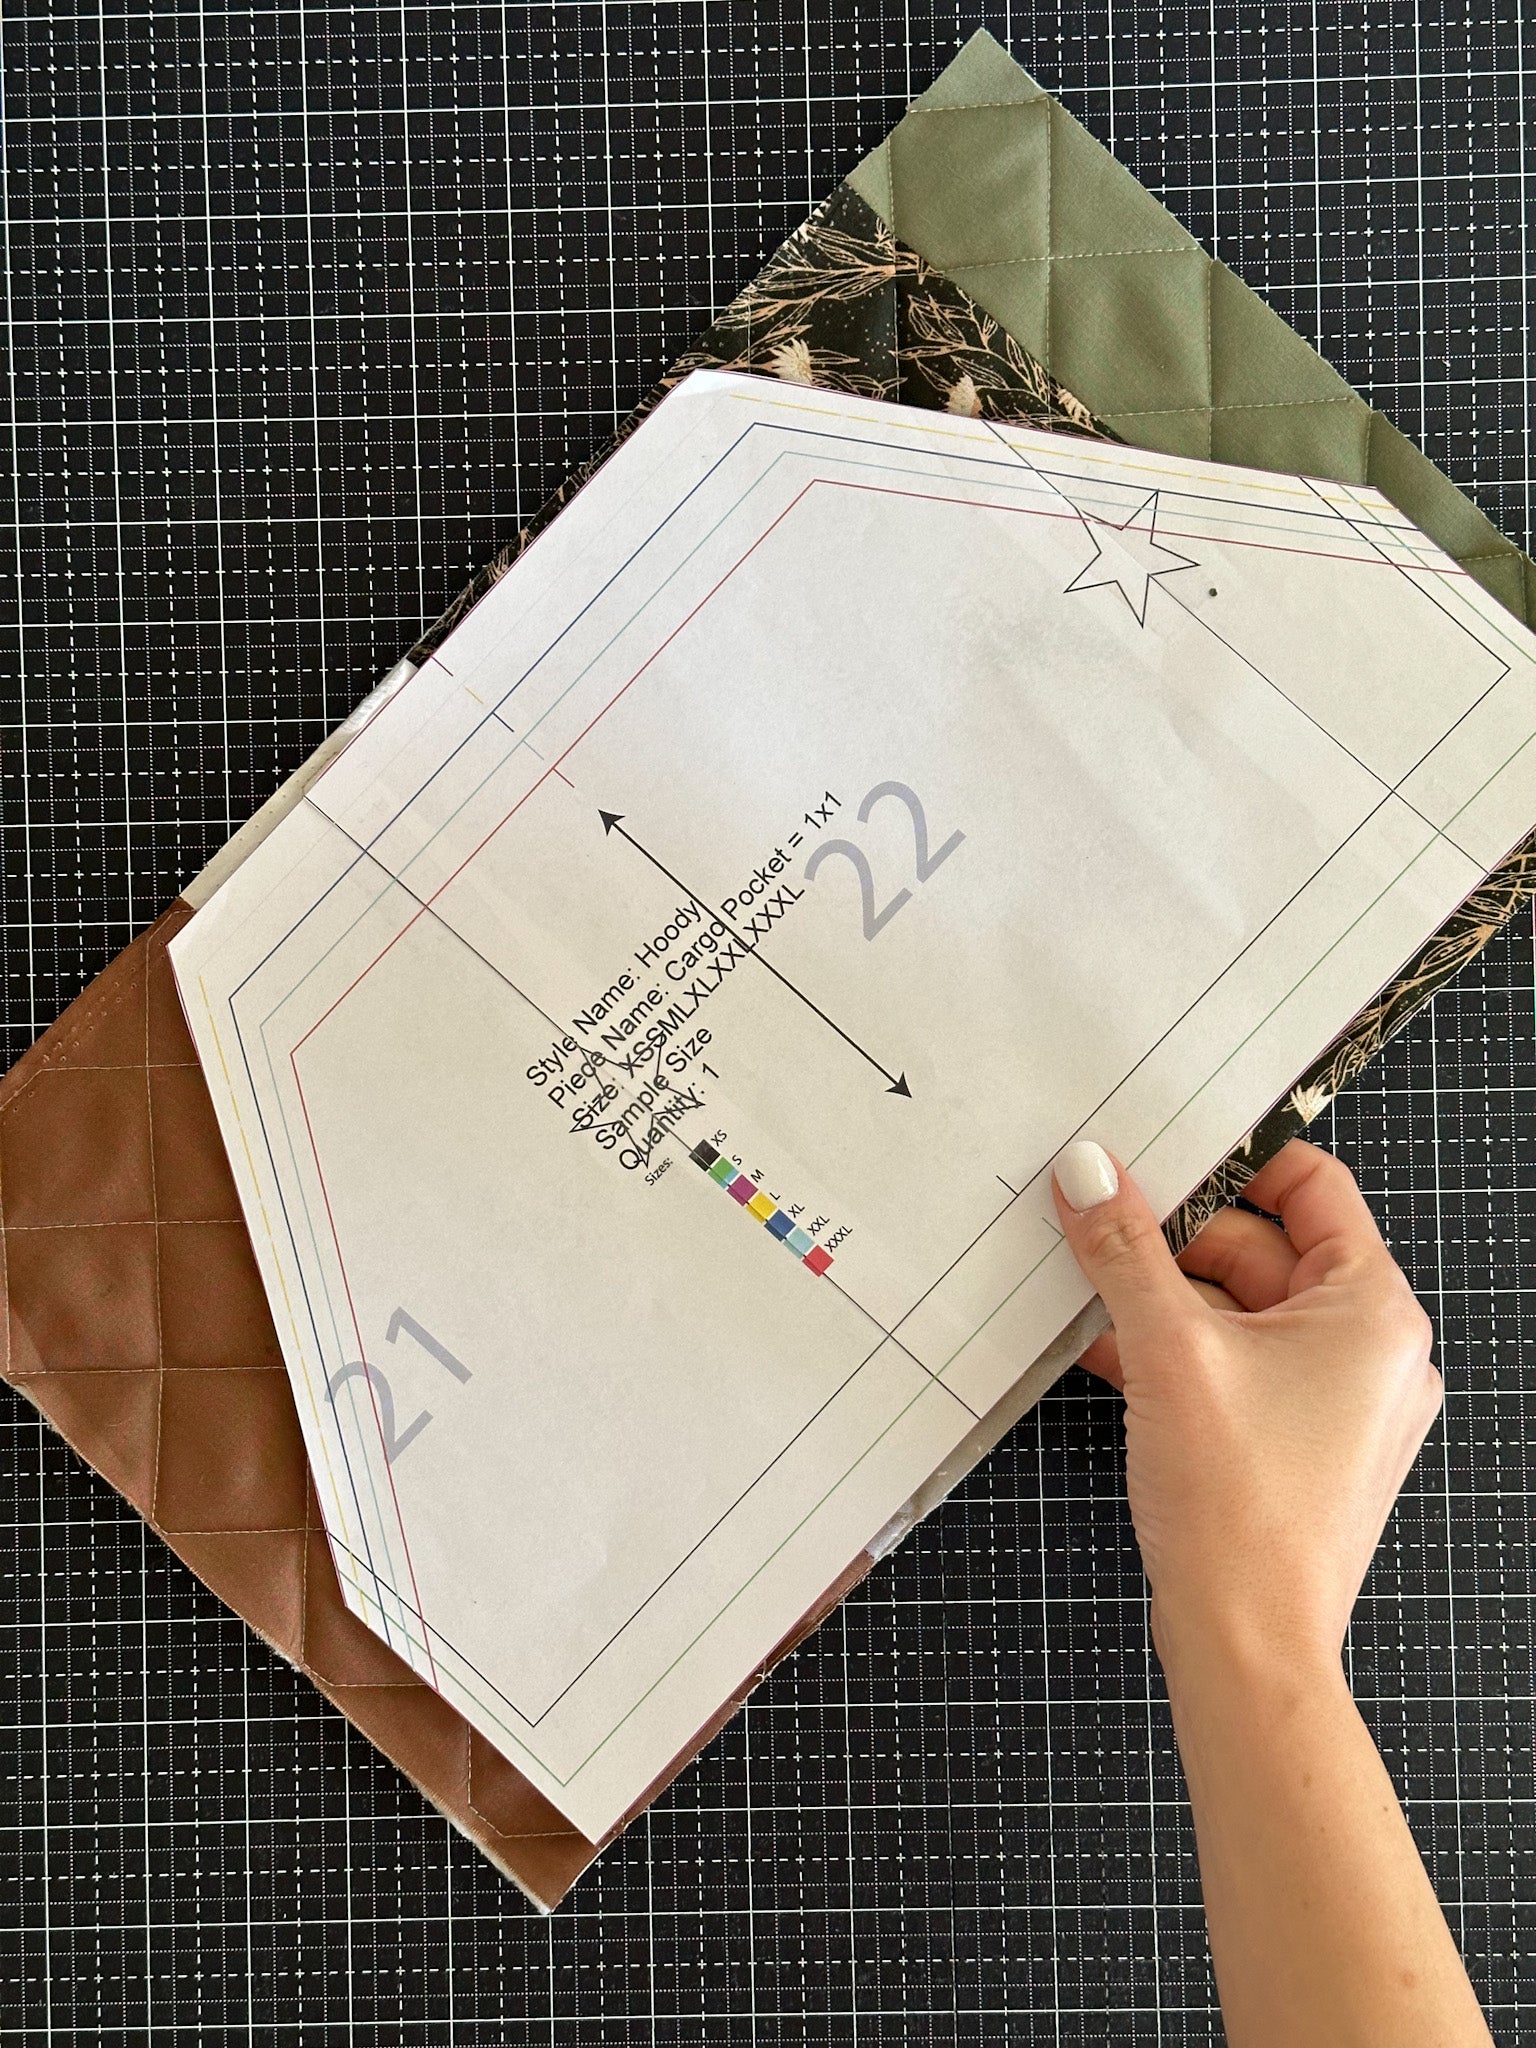
What printer settings do I use? Print at 100%, not “fit to page.” Measure the 2” square to ensure your printer settings are correct.
Now on to the topic of the week: Cutting Your Sections.
This is definitely the scariest part of the project. Chances are, some of these questions are running through your head: What if I make a mistake and waste this quilt?! What if I chose the wrong size? What if I hate it when it's done??
Here’s the thing — you might. There’s no getting around it. You might mess up, it might not fit, you might hate it. I’ve done each at some point! I’ve made a quilt coat that didn’t fit. I’ve made one I thought I’d love, then didn’t. And I’ve confidently cut into a quilt thinking I placed all of my sections correctly, only to realize I cut one backwards and was out of fabric. But I survived and you will too, so go forward with confidence dear quilter! You can do this!!!
Cutting Instructions: What you need
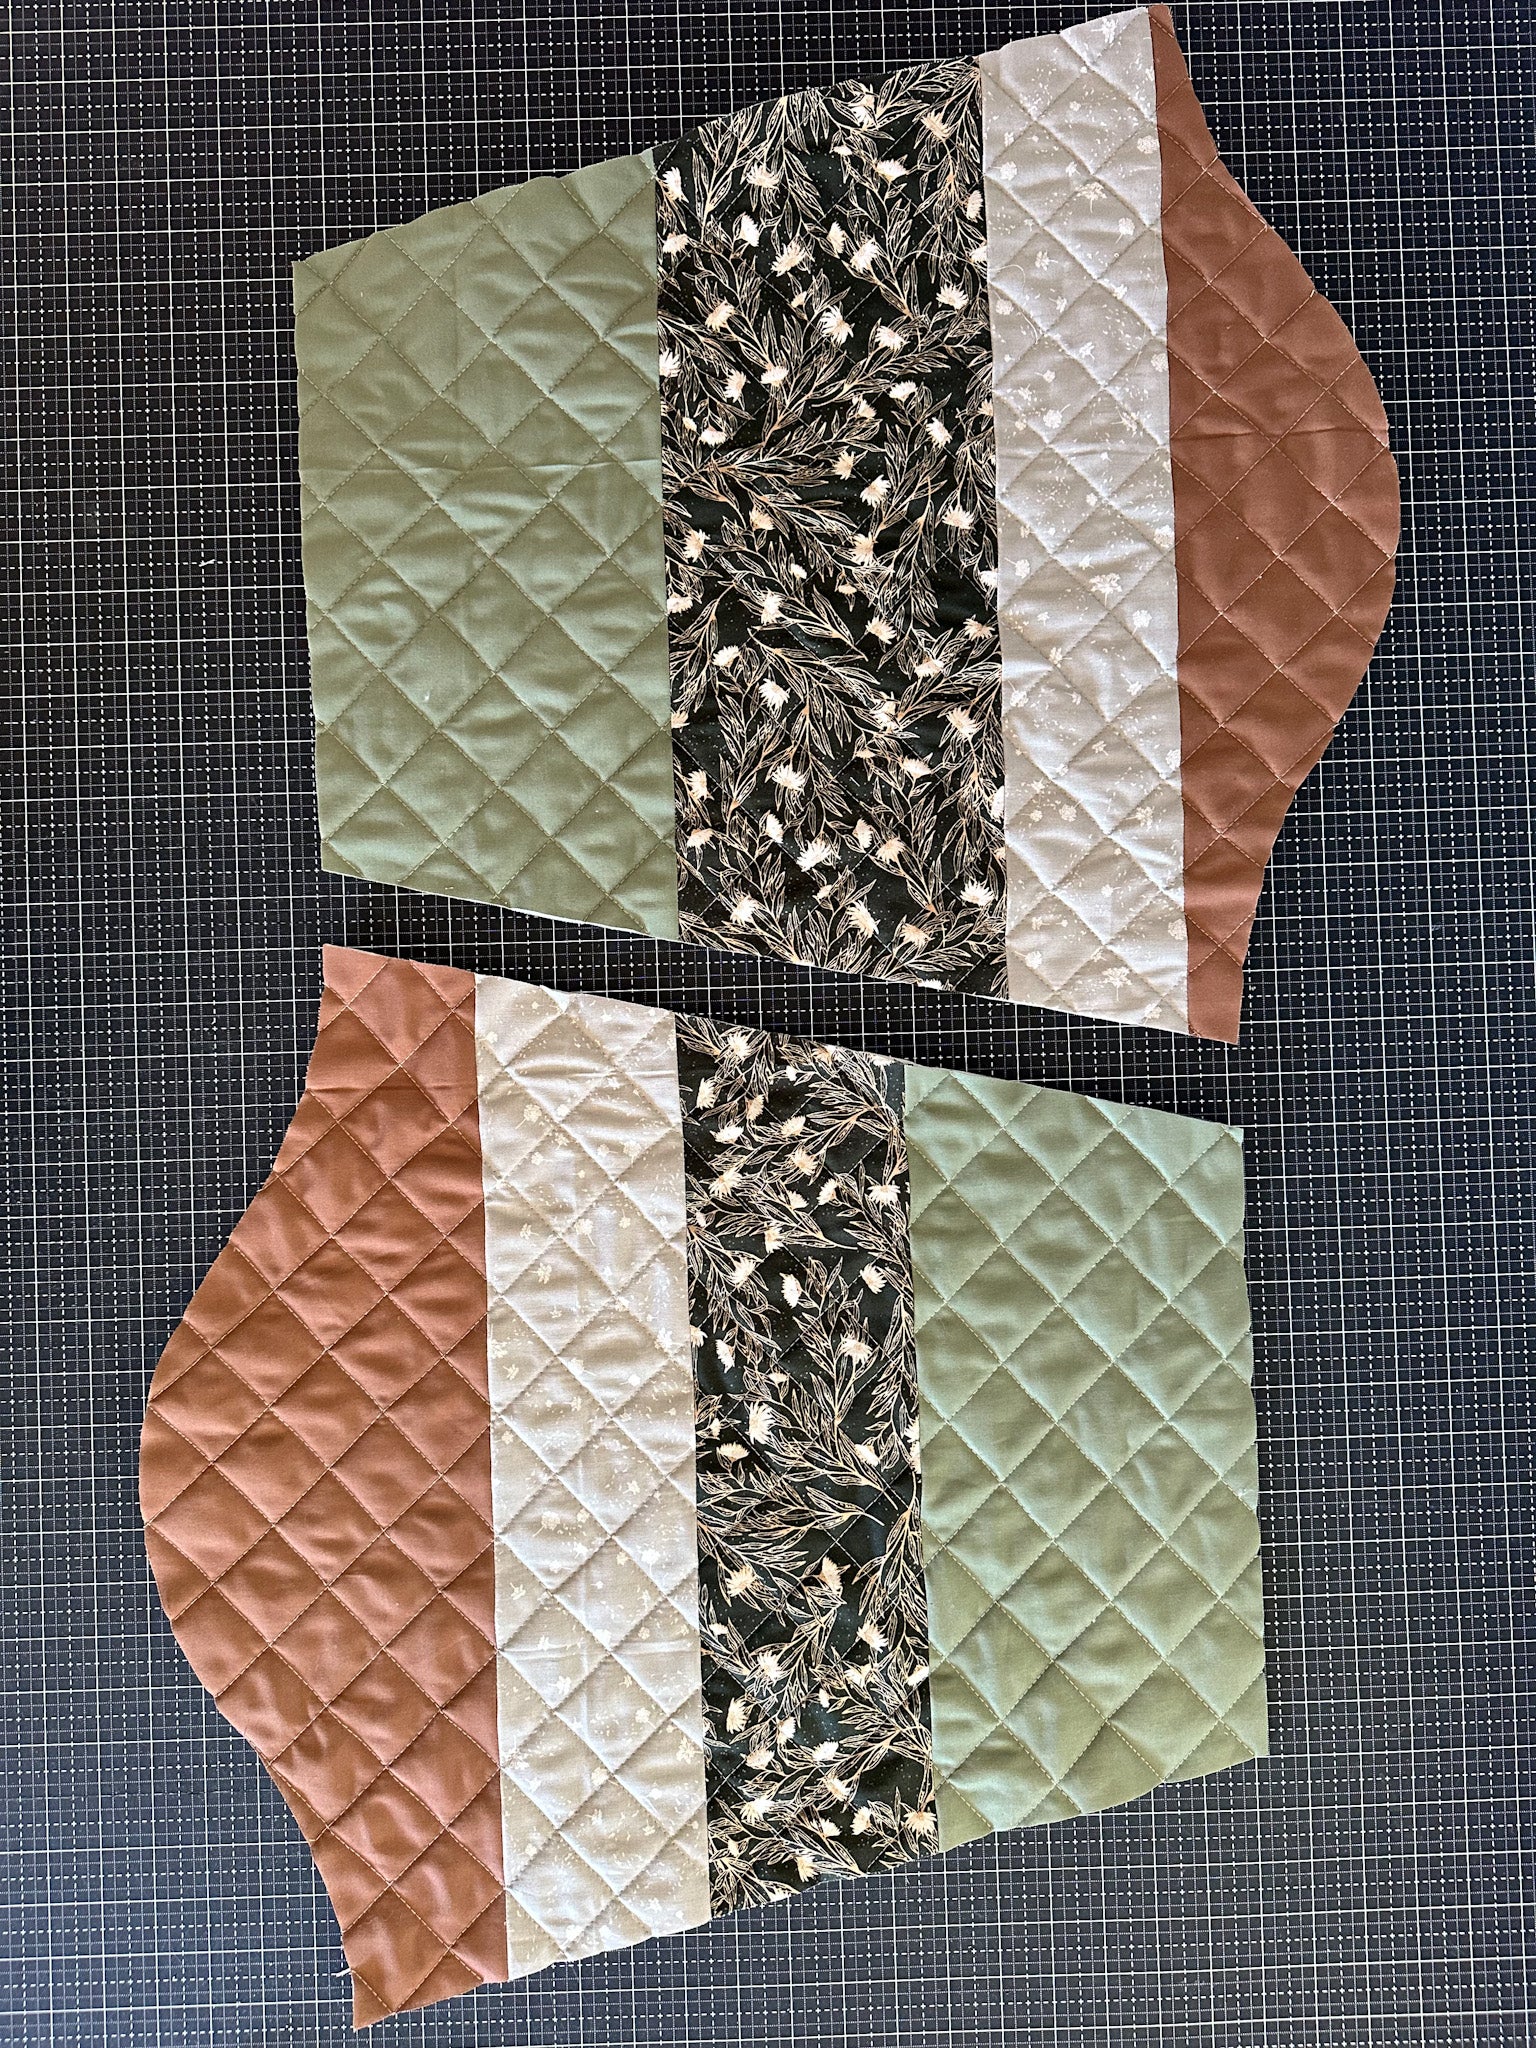
Step 1. If using a completed quilt, arrange the paper templates on the quilt before cutting. This helps to visualize the final look and to see how much wiggle room you have in cutting. There’s nothing worse than cutting the first sections and realizing you haven’t left enough room to get all of the pieces you need! If using sections, check one more time that all of your pieces fit.
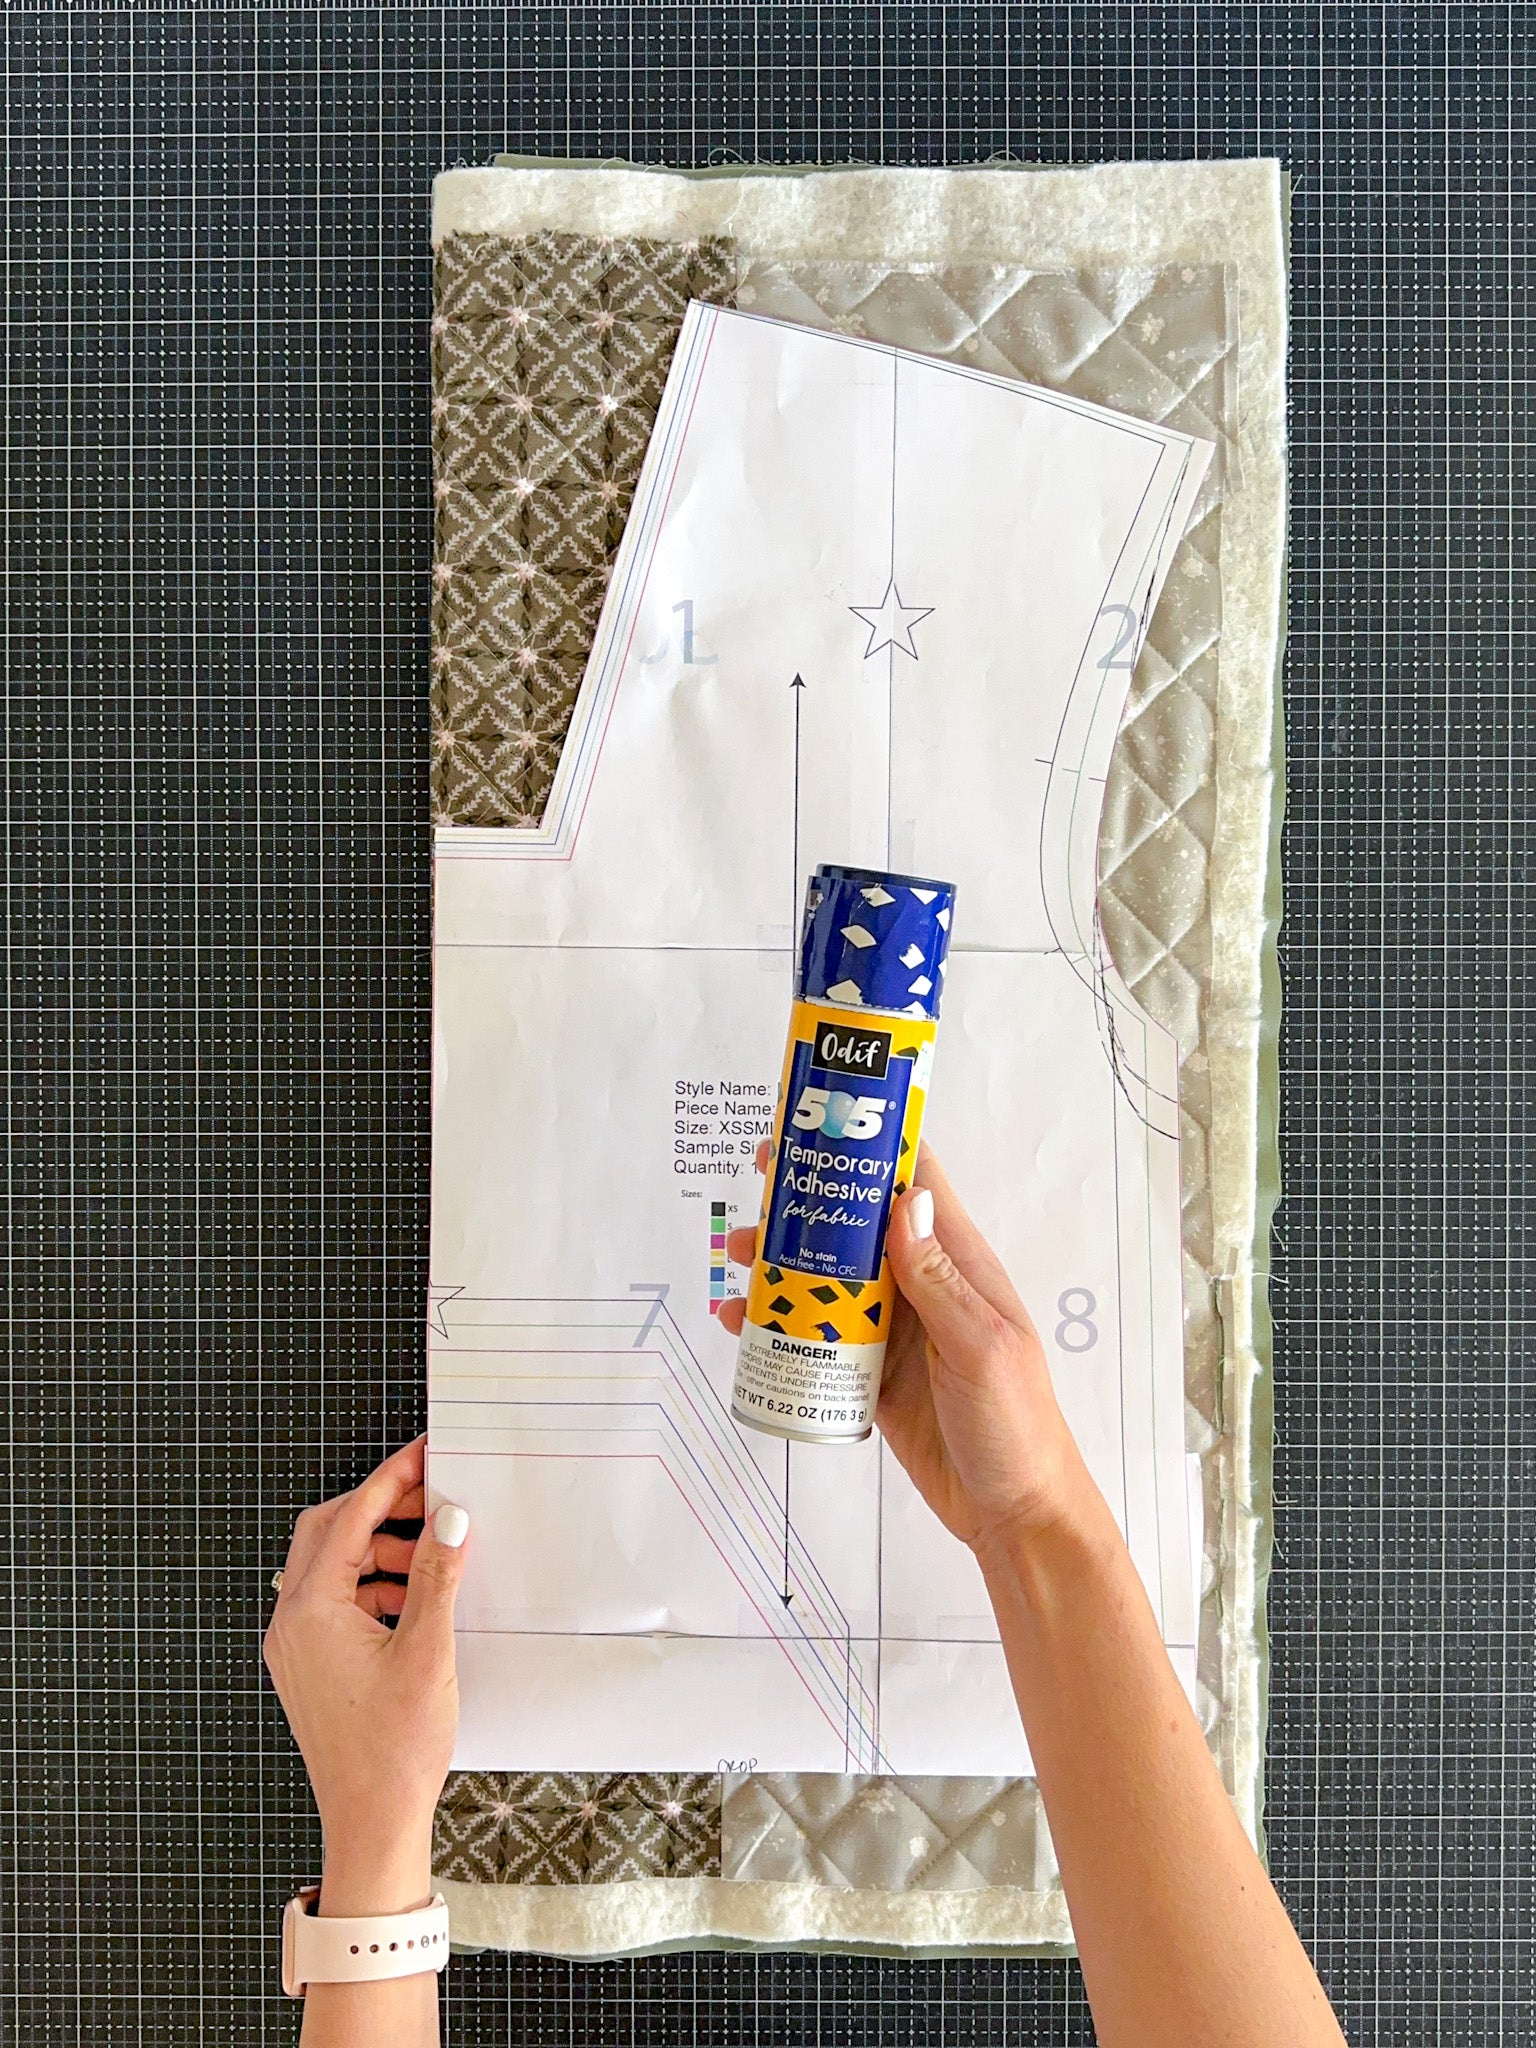
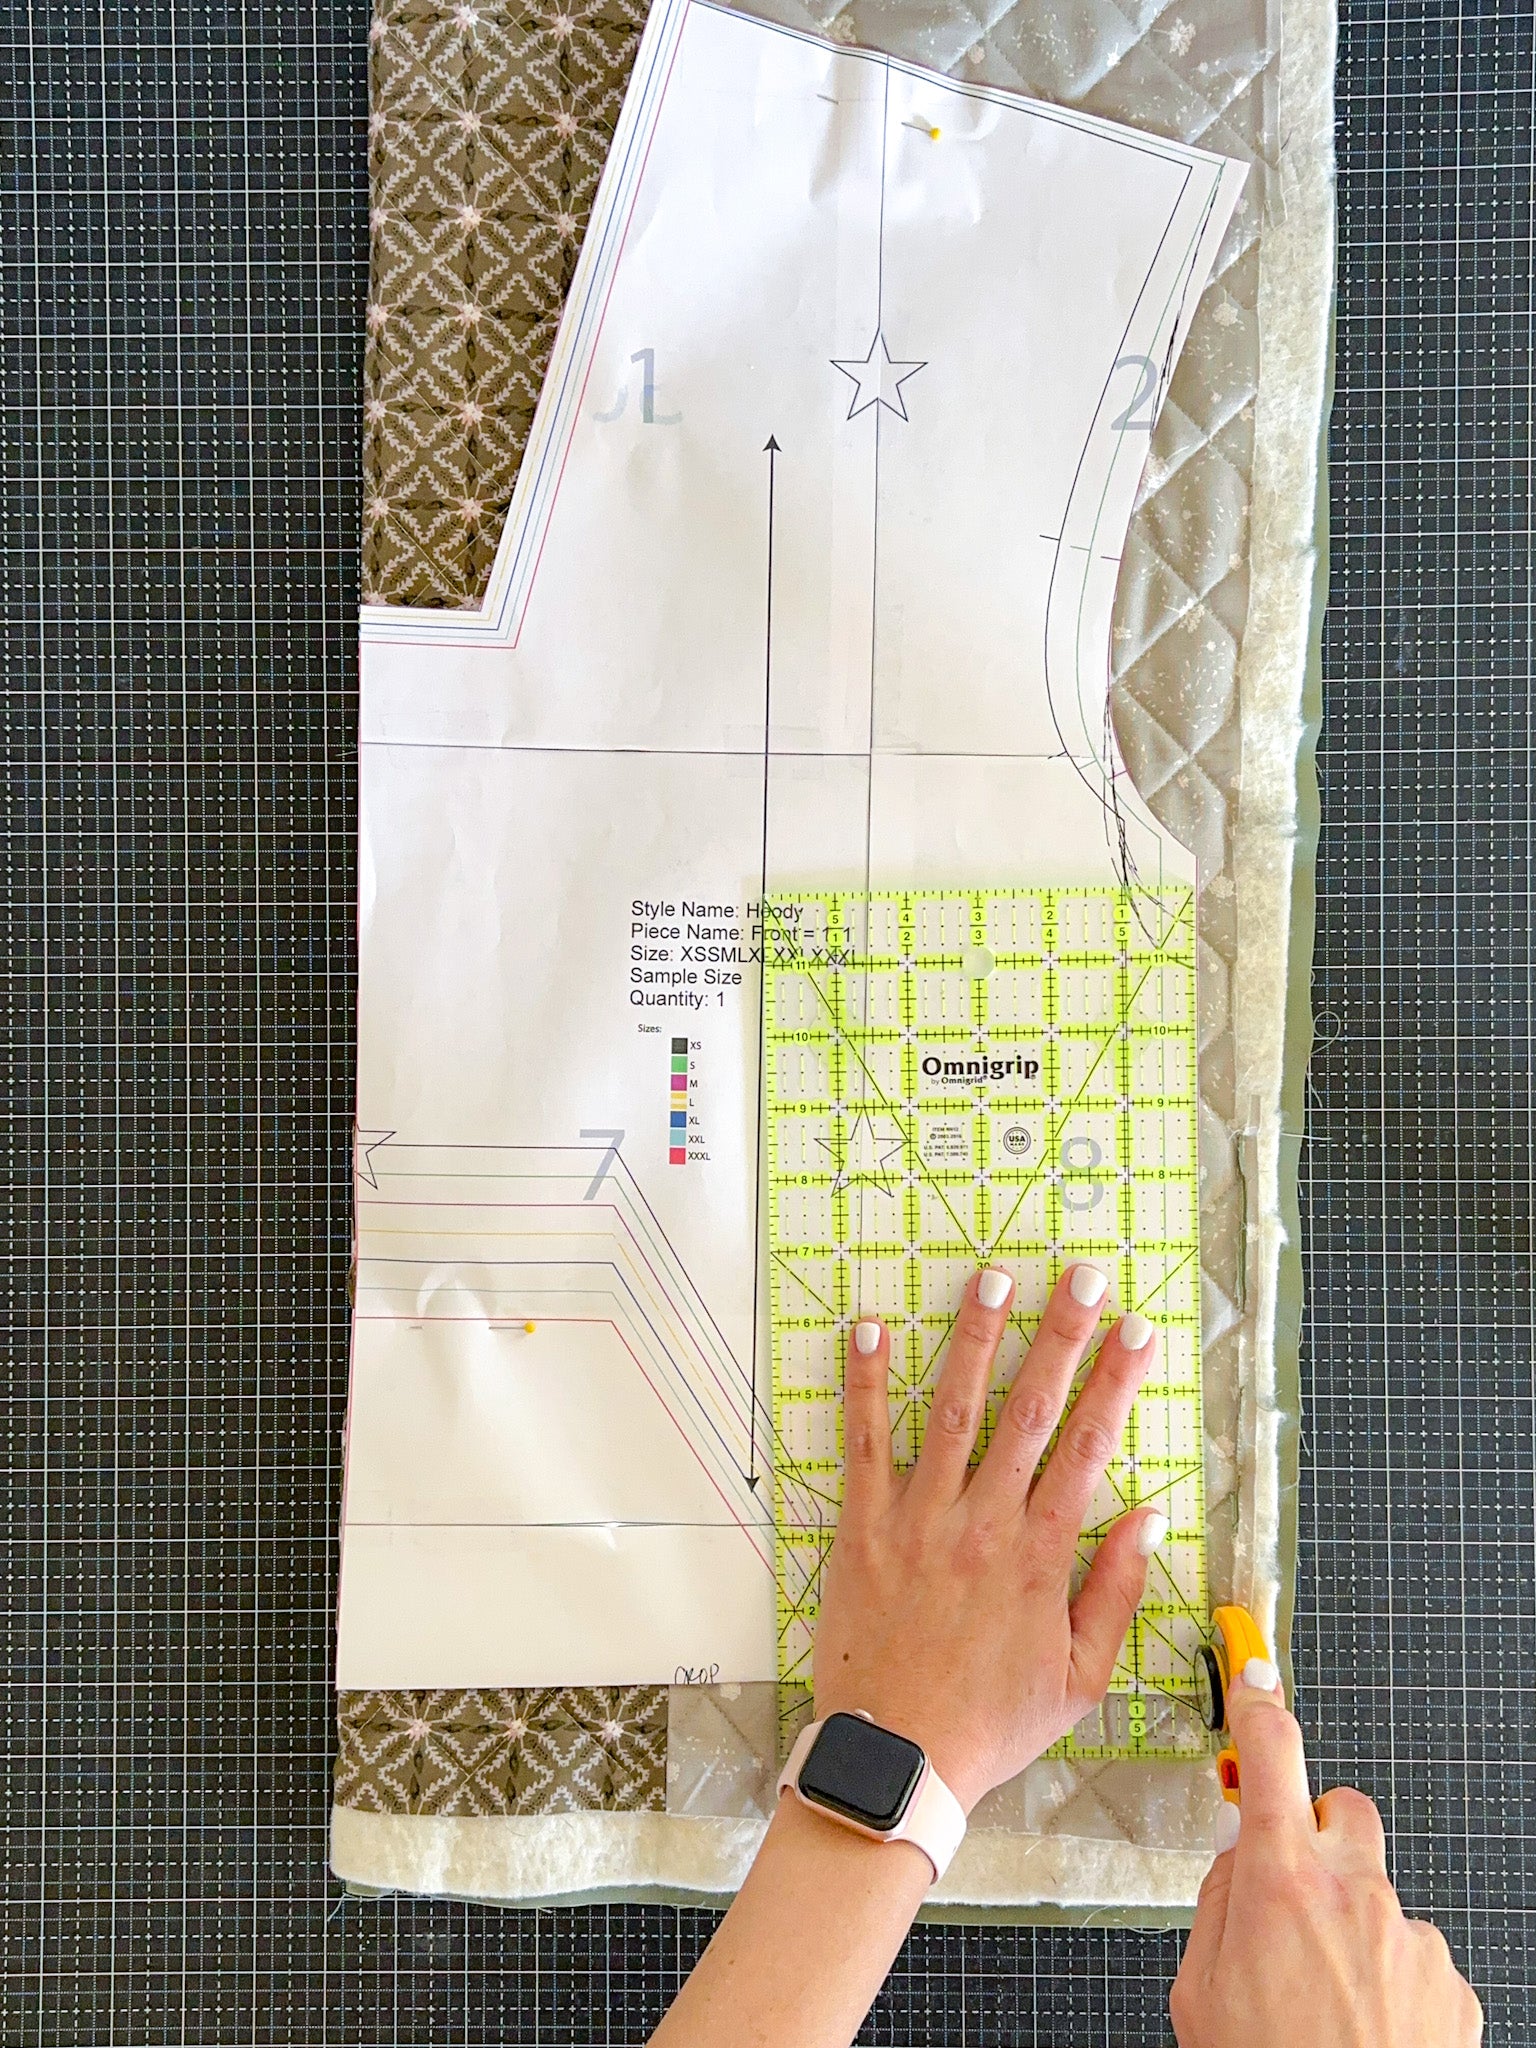
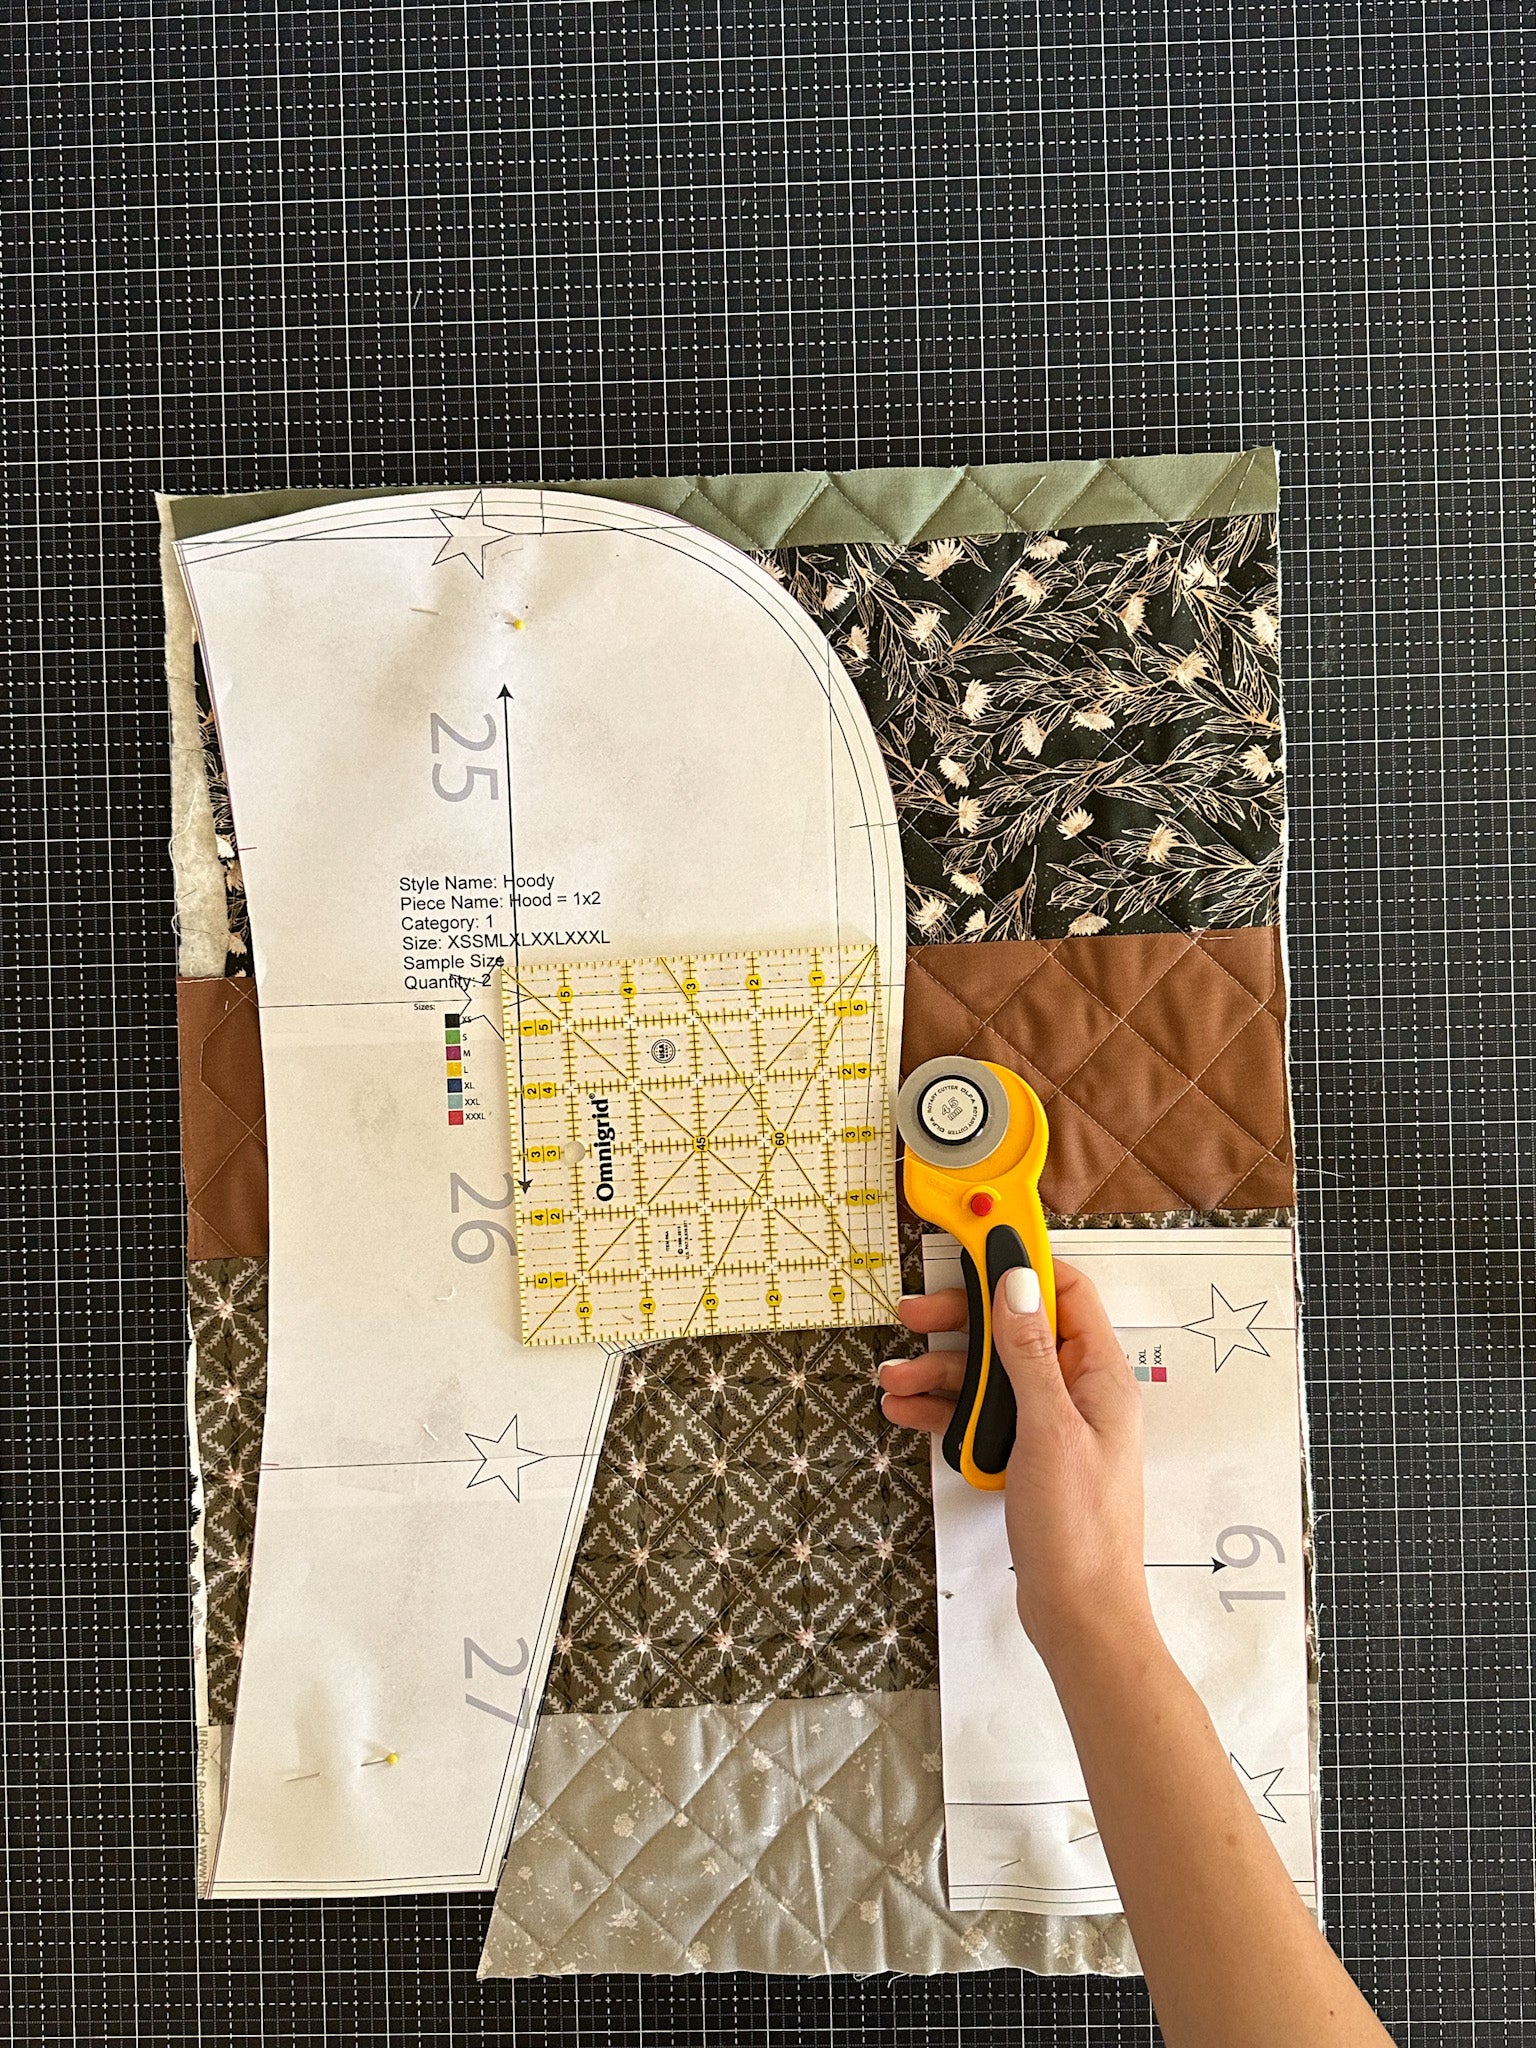
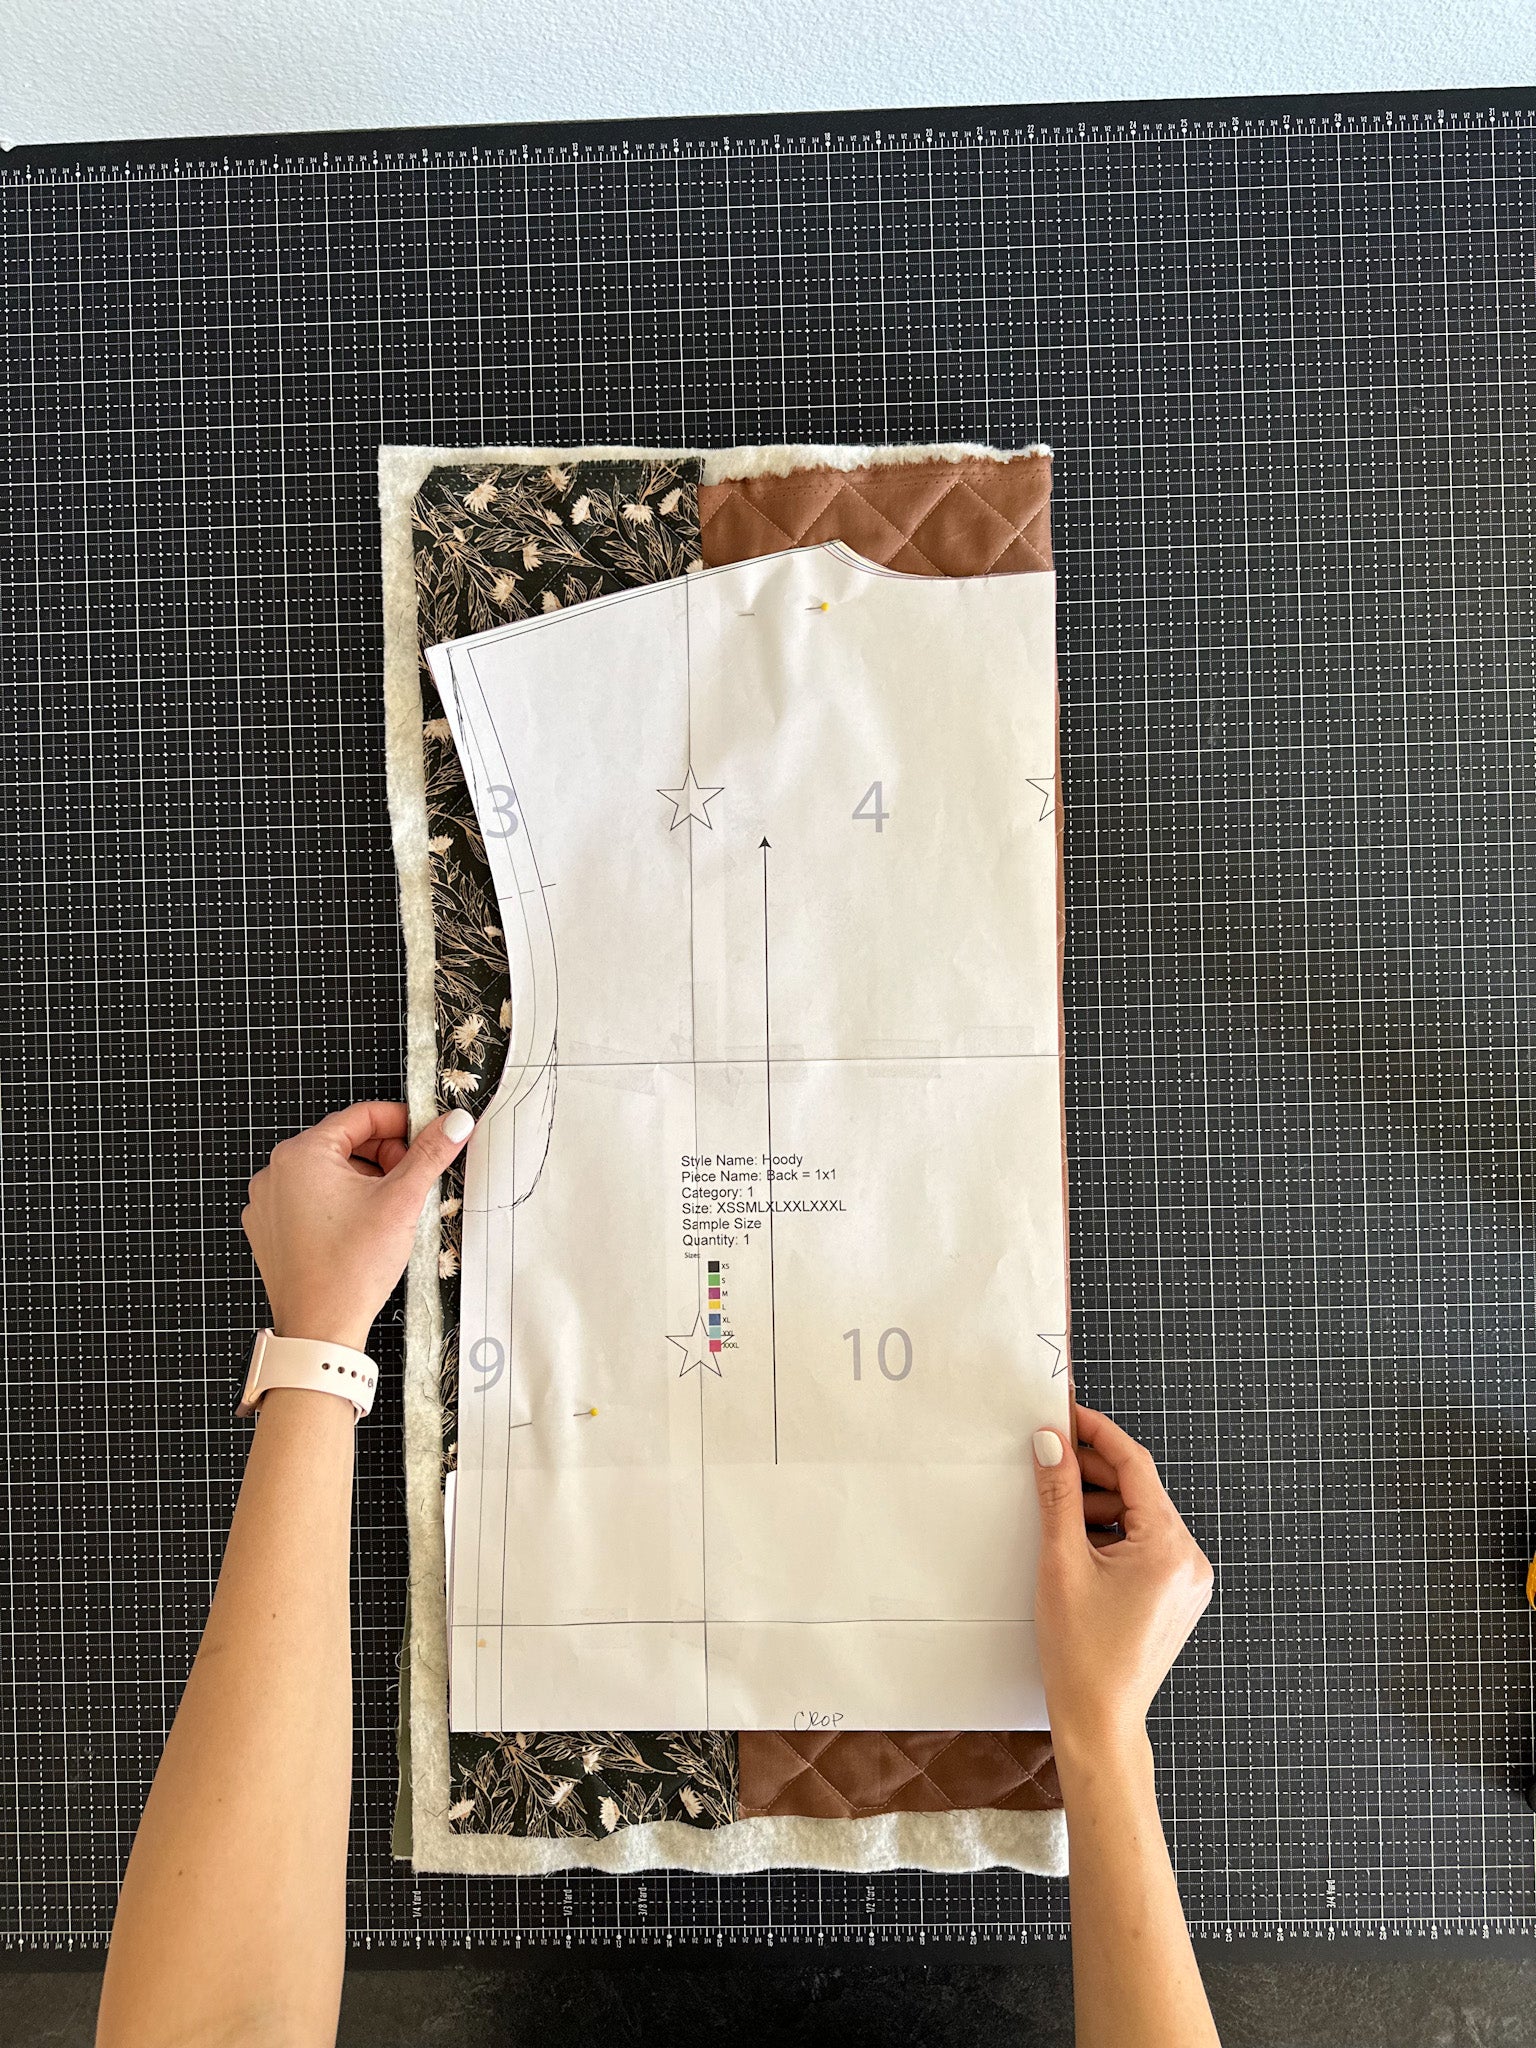
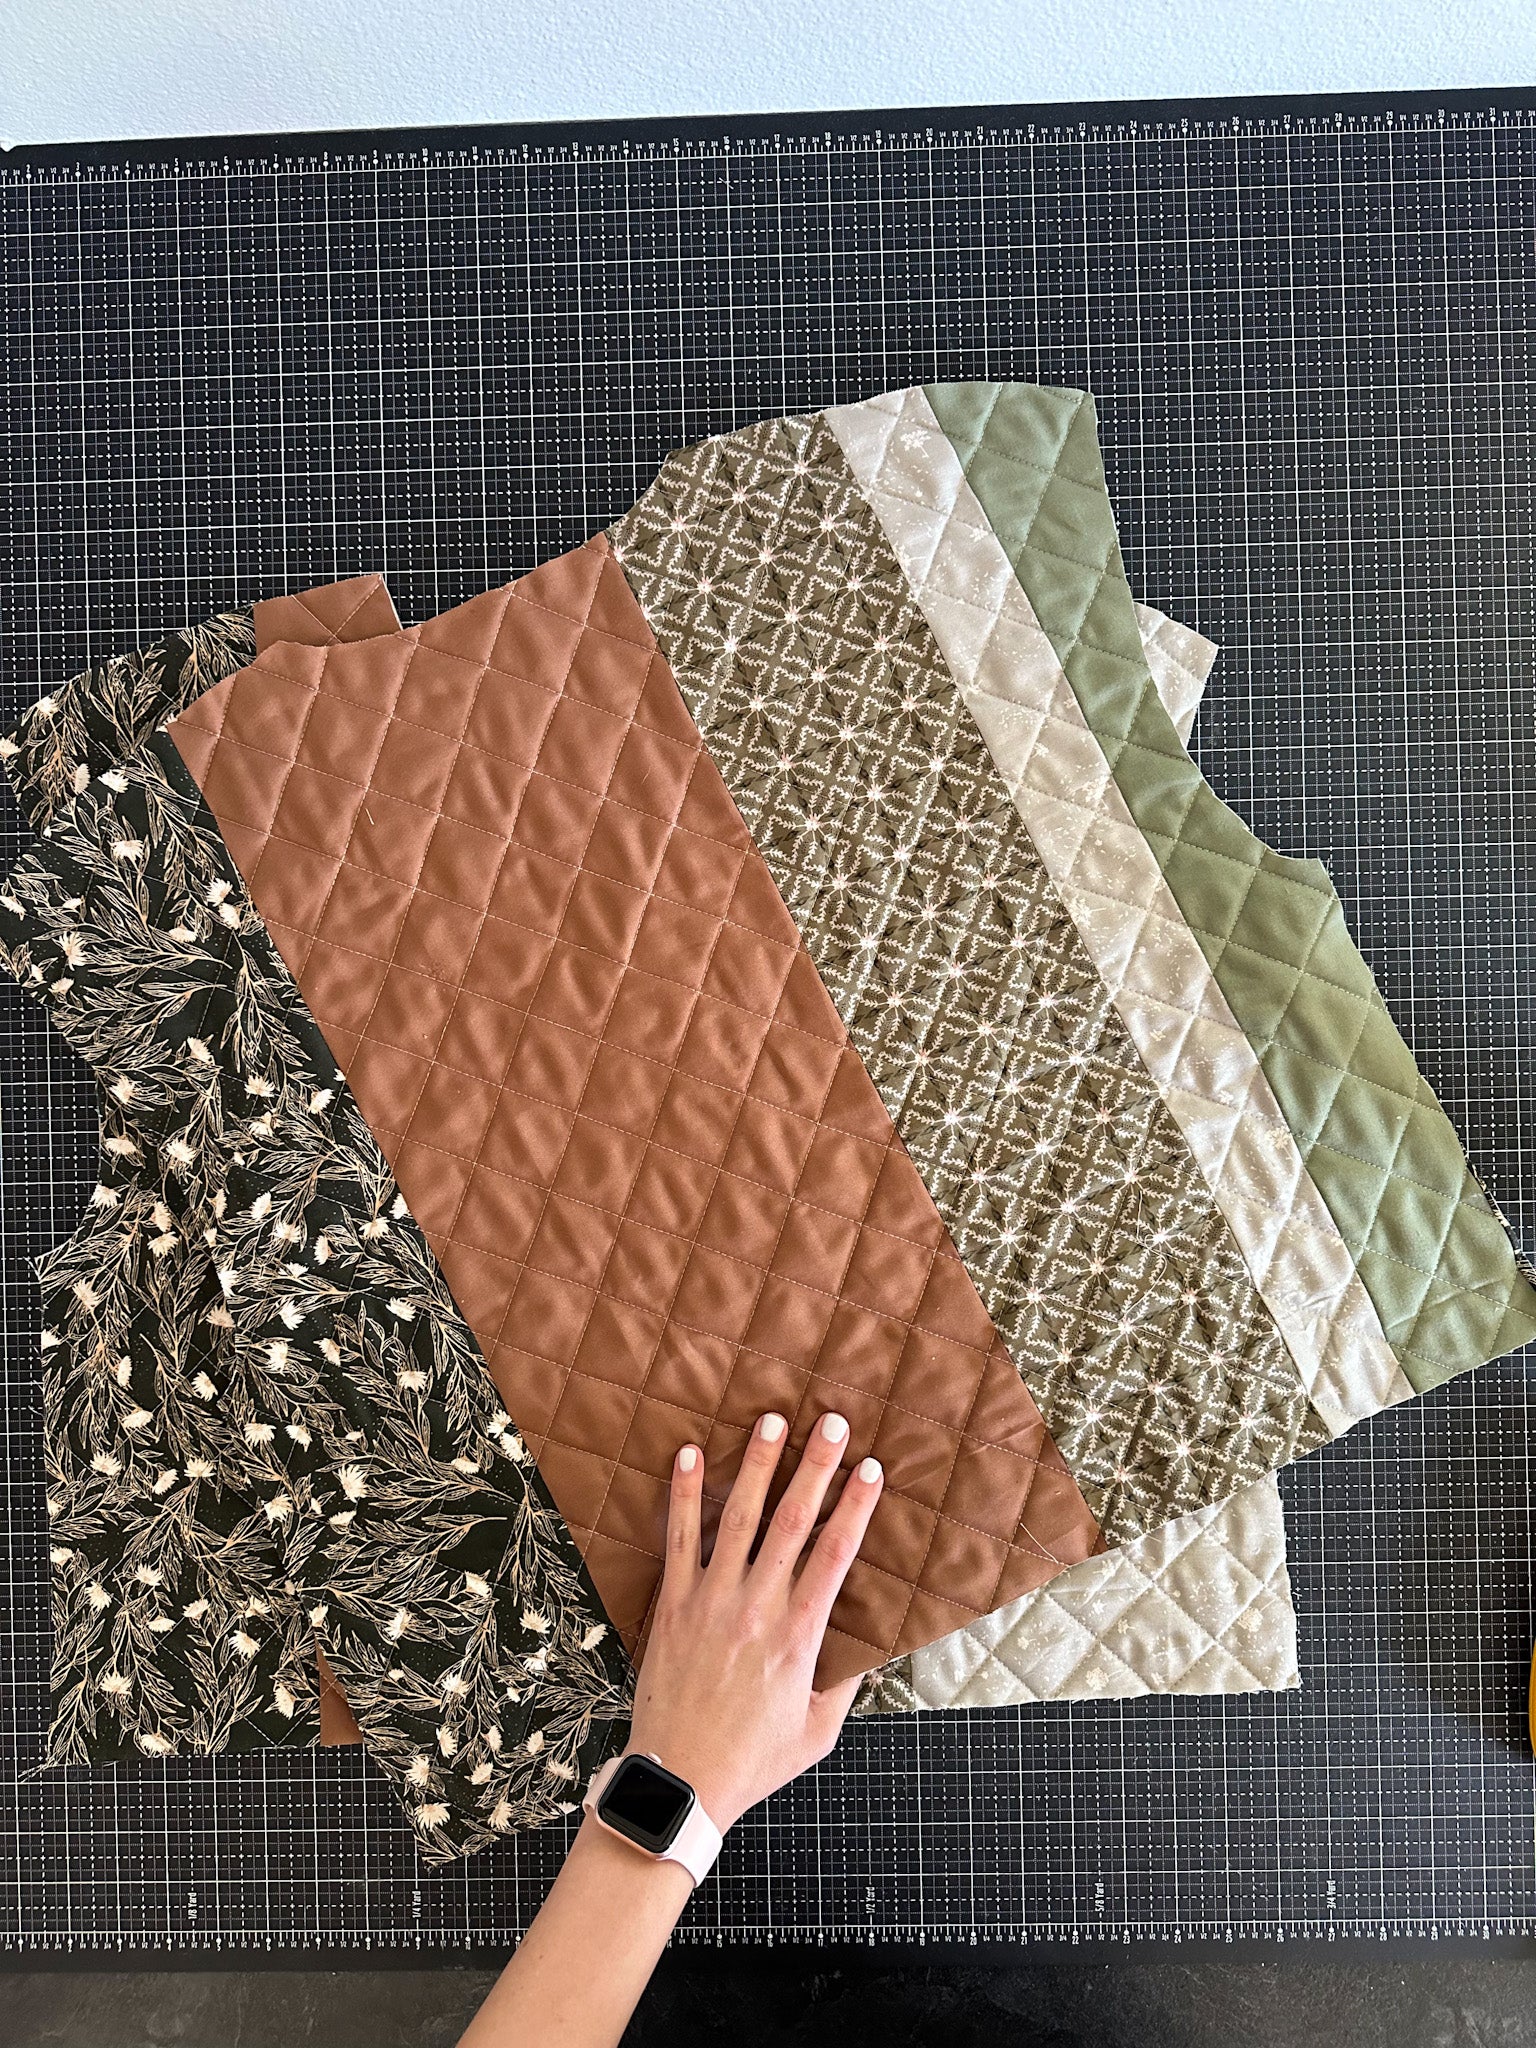
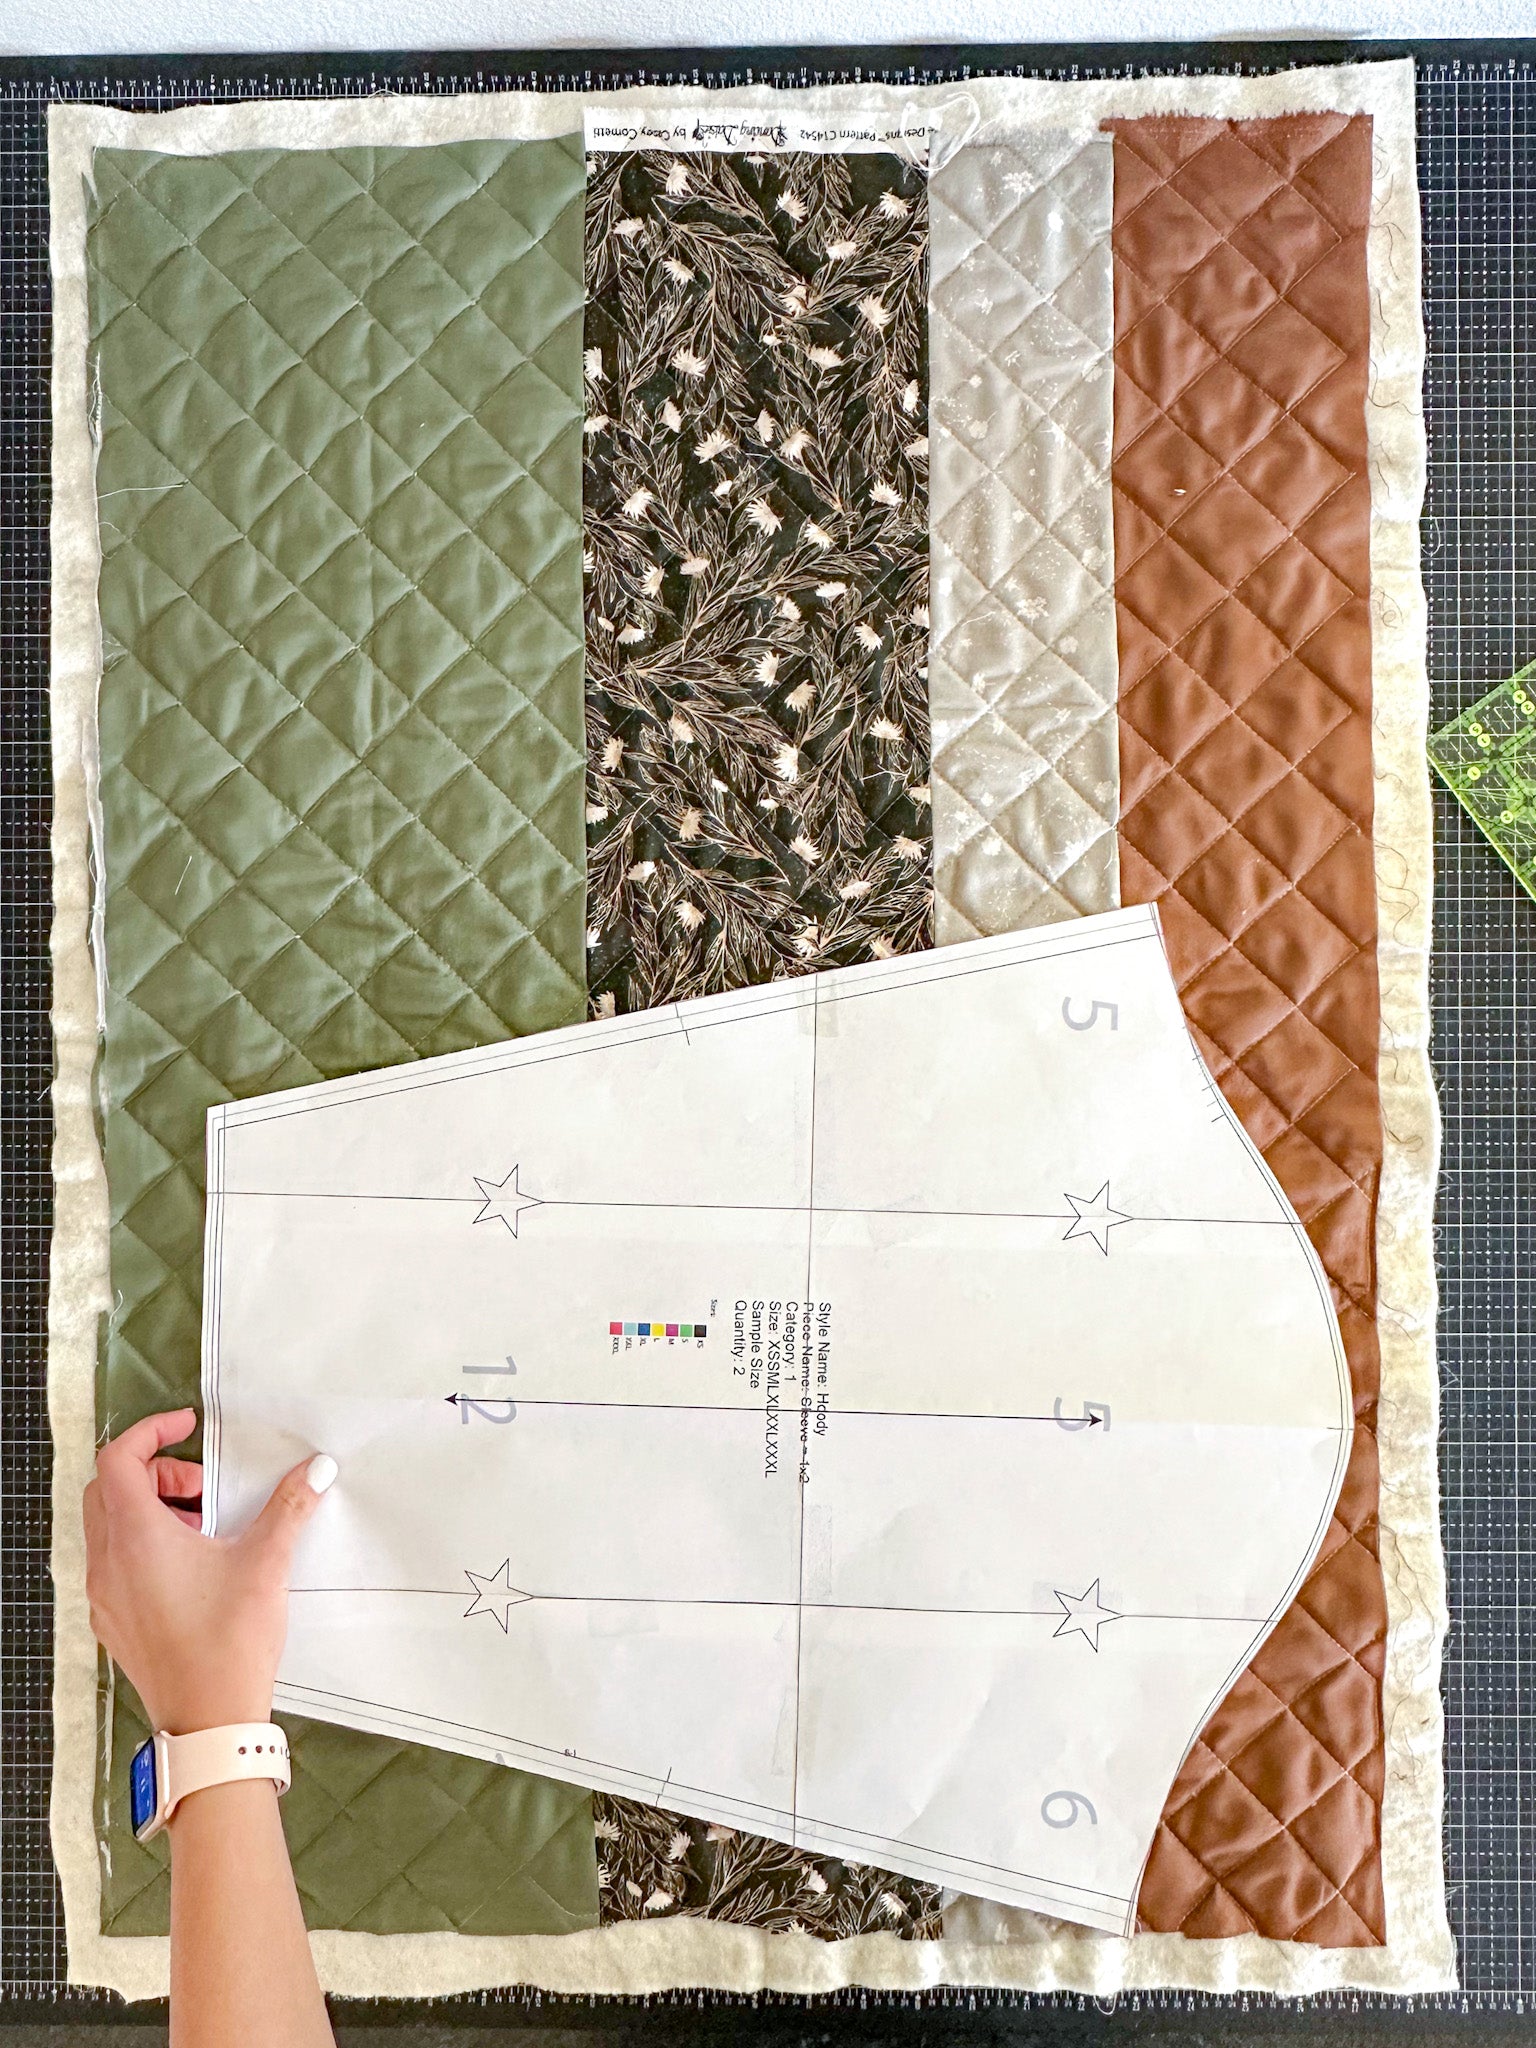
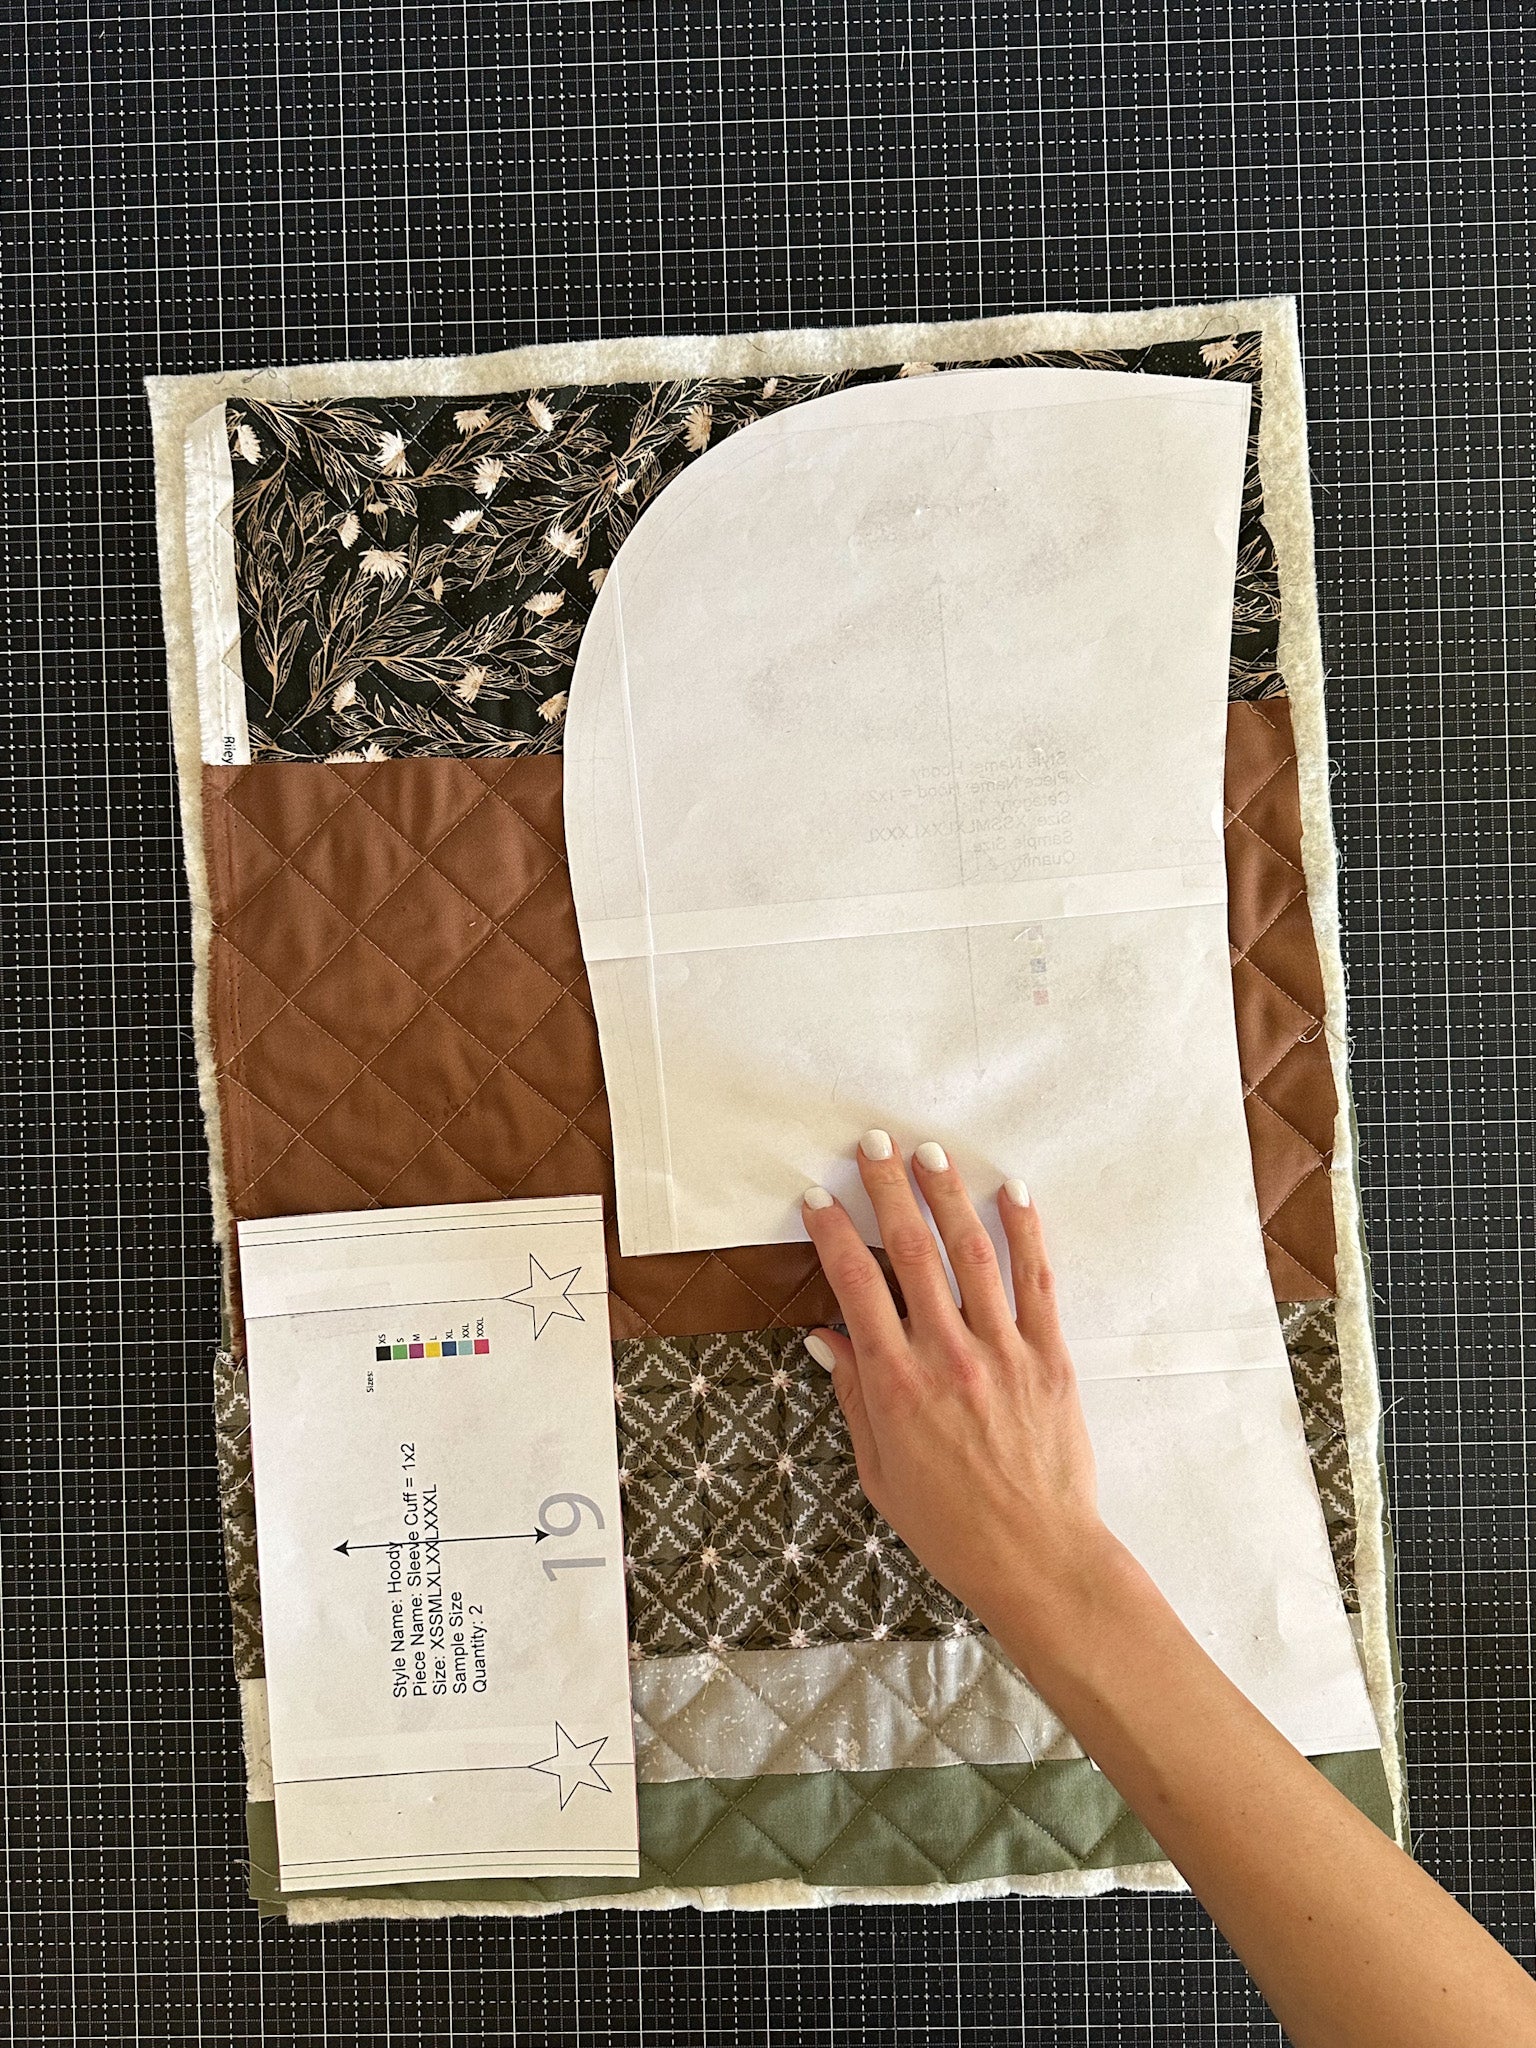
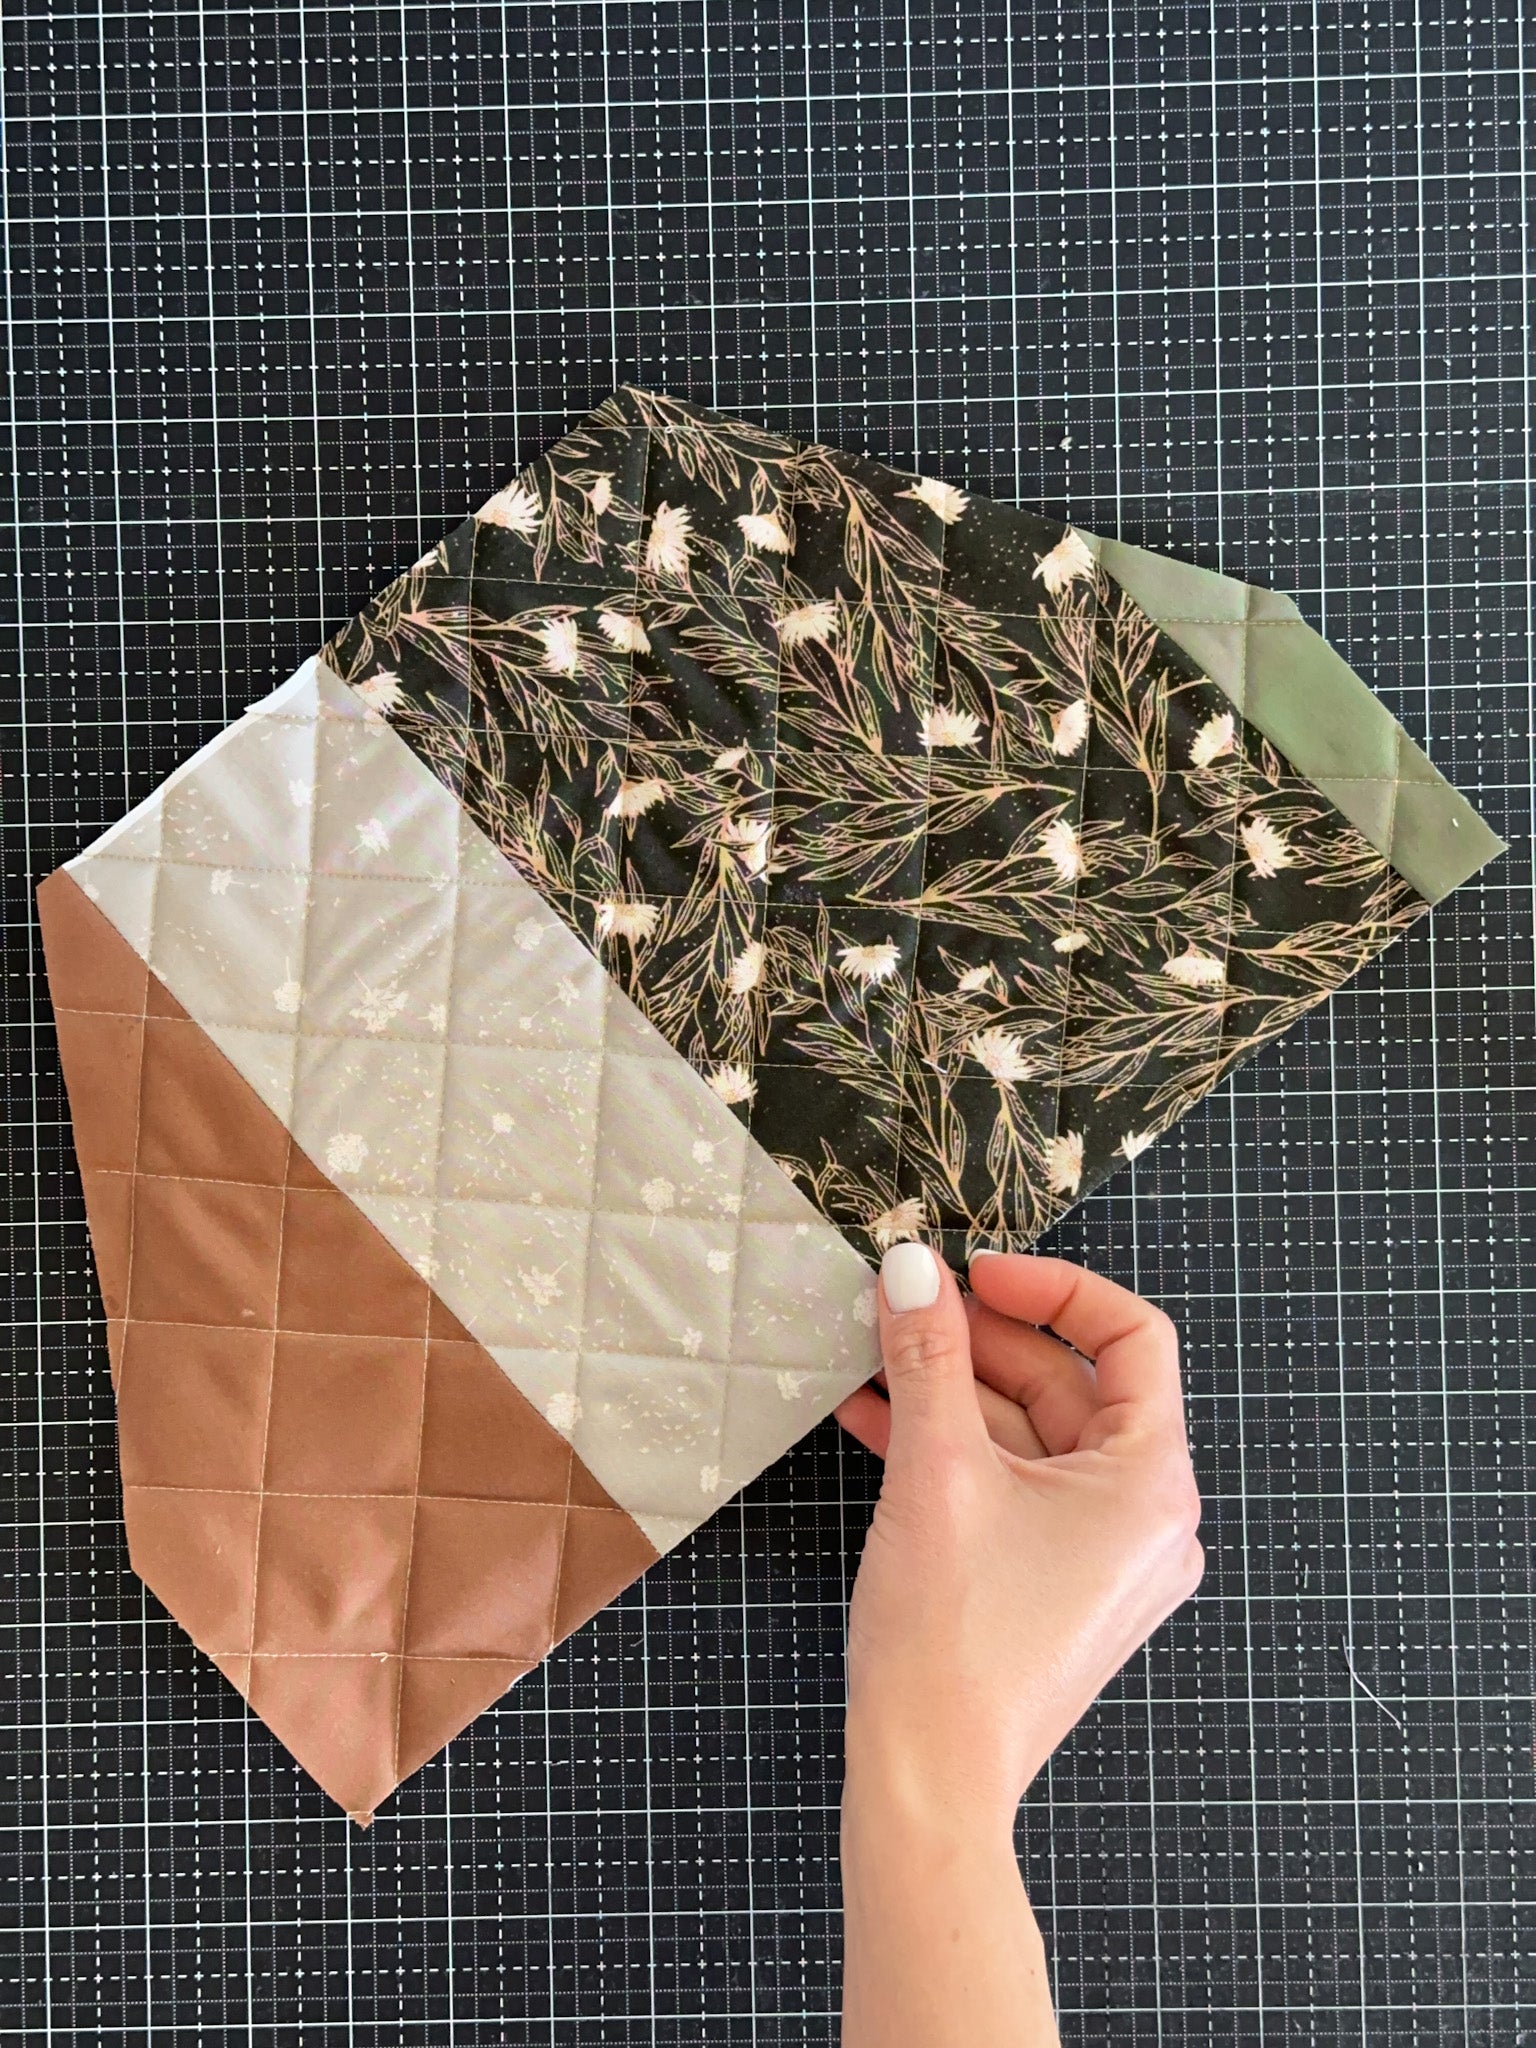
Step 2. Take Front and Back panel templates, fold the quilted sections in half and align the templates with the fold. Use pins and adhesive spray to secure the paper templates. I am a huge proponent of the adhesive spray, it minimizes distortion of the paper and makes cutting so much easier. Take your scissors or rotary cutter to carefully cut around the paper templates. Use a ruler to guide your rotary cutter around the curves.
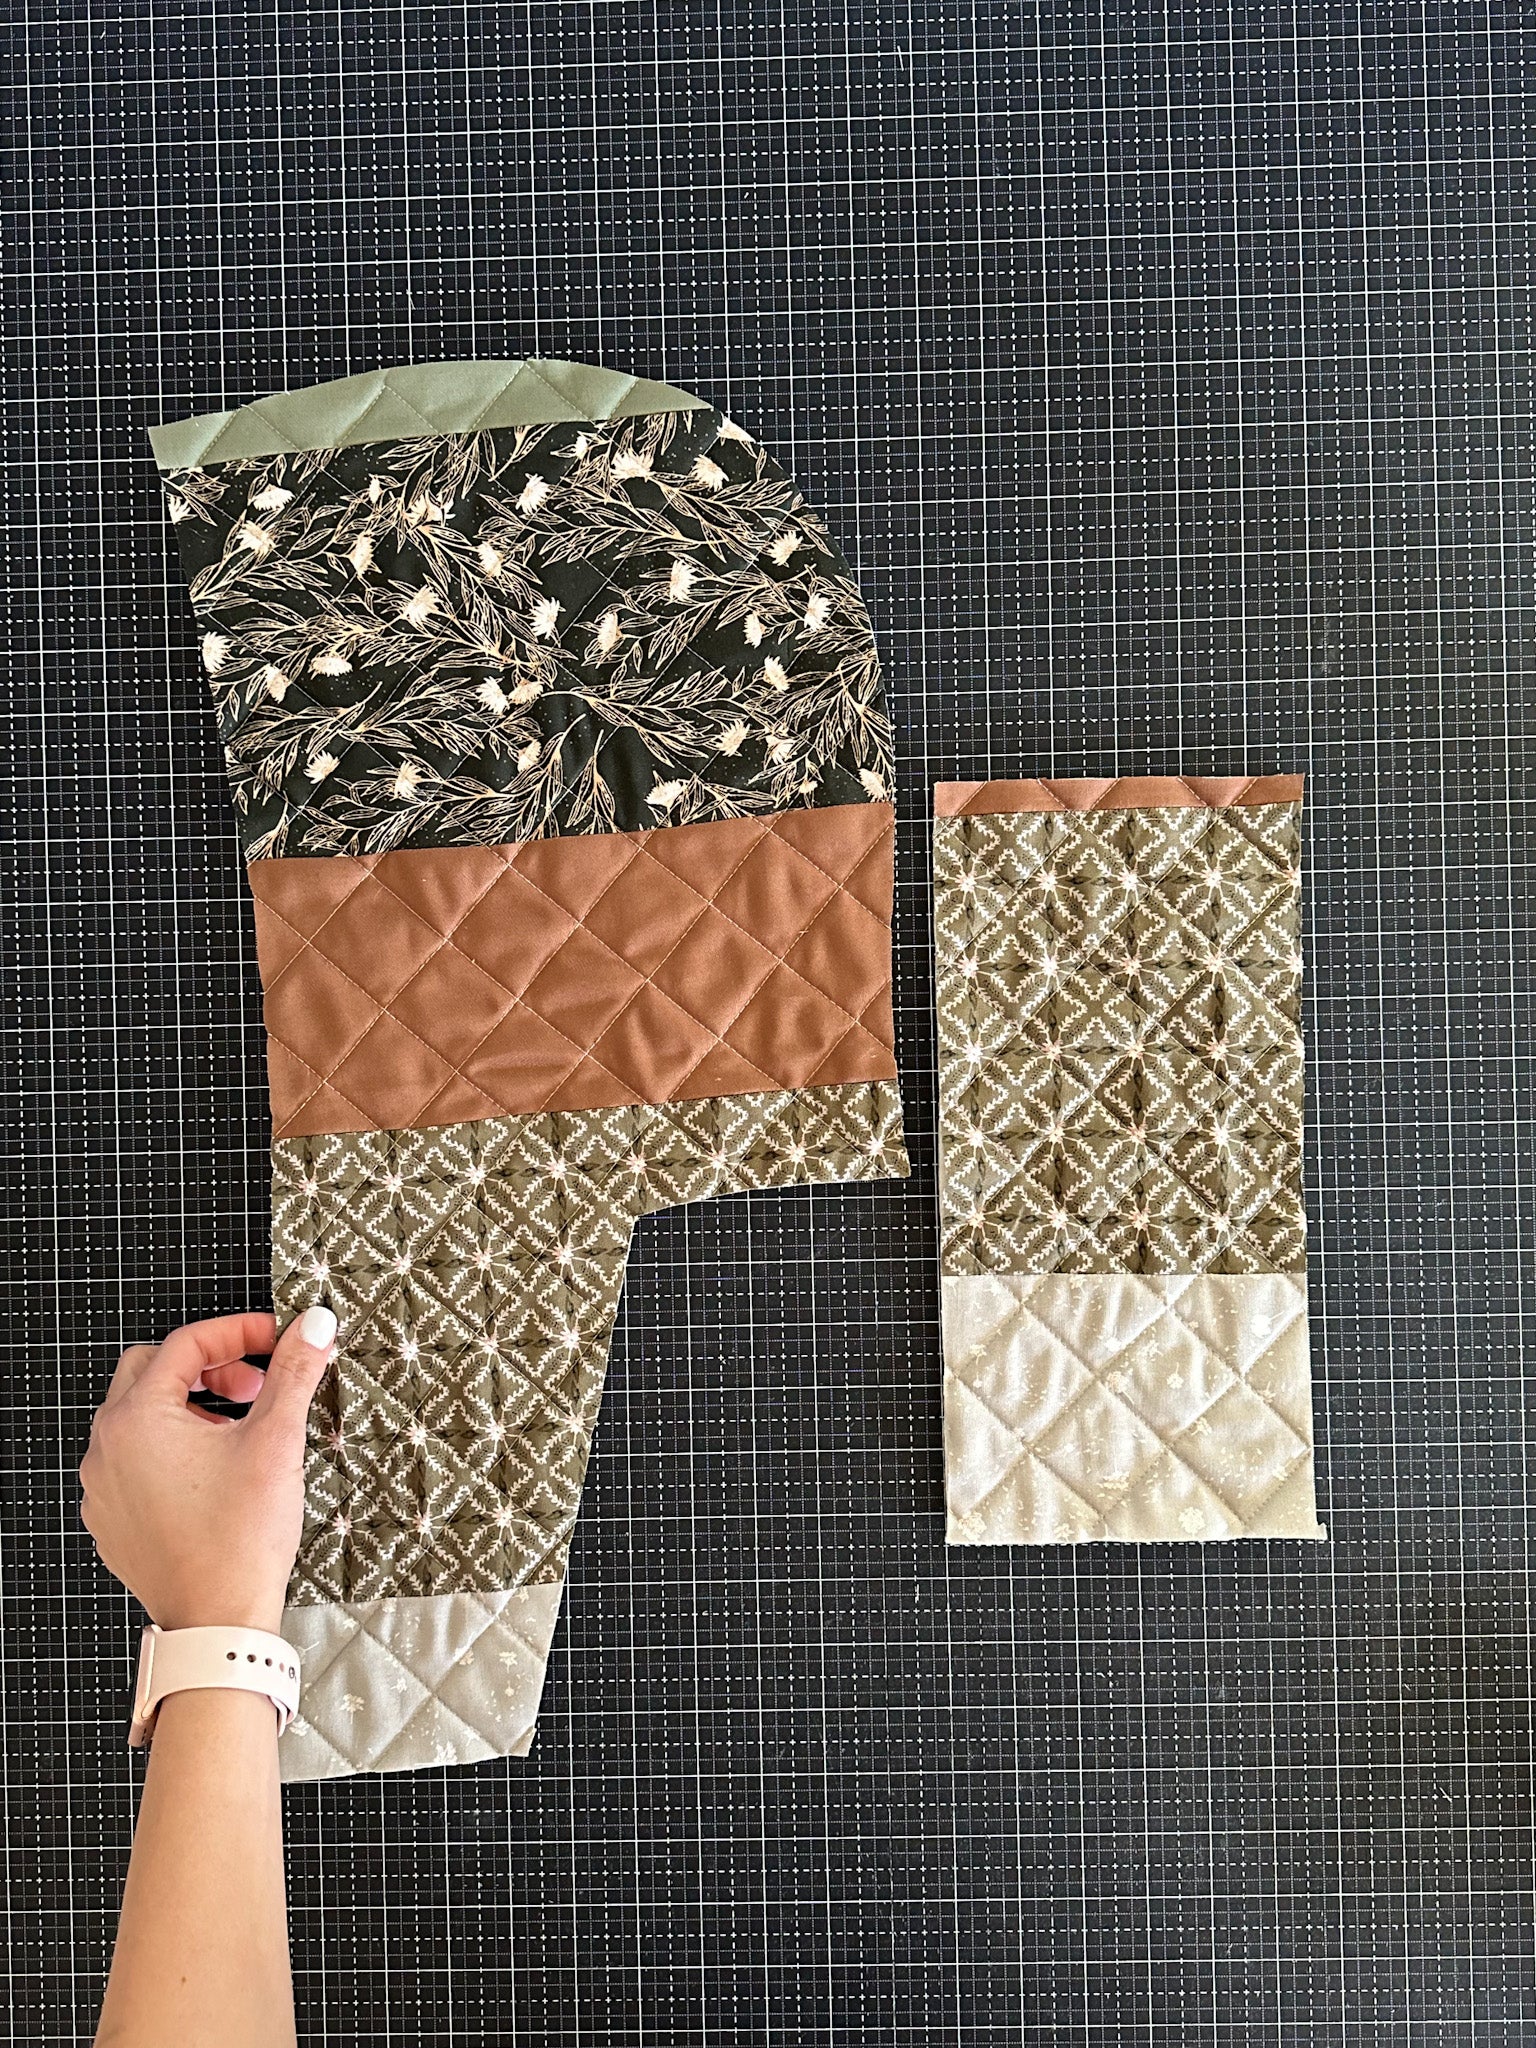
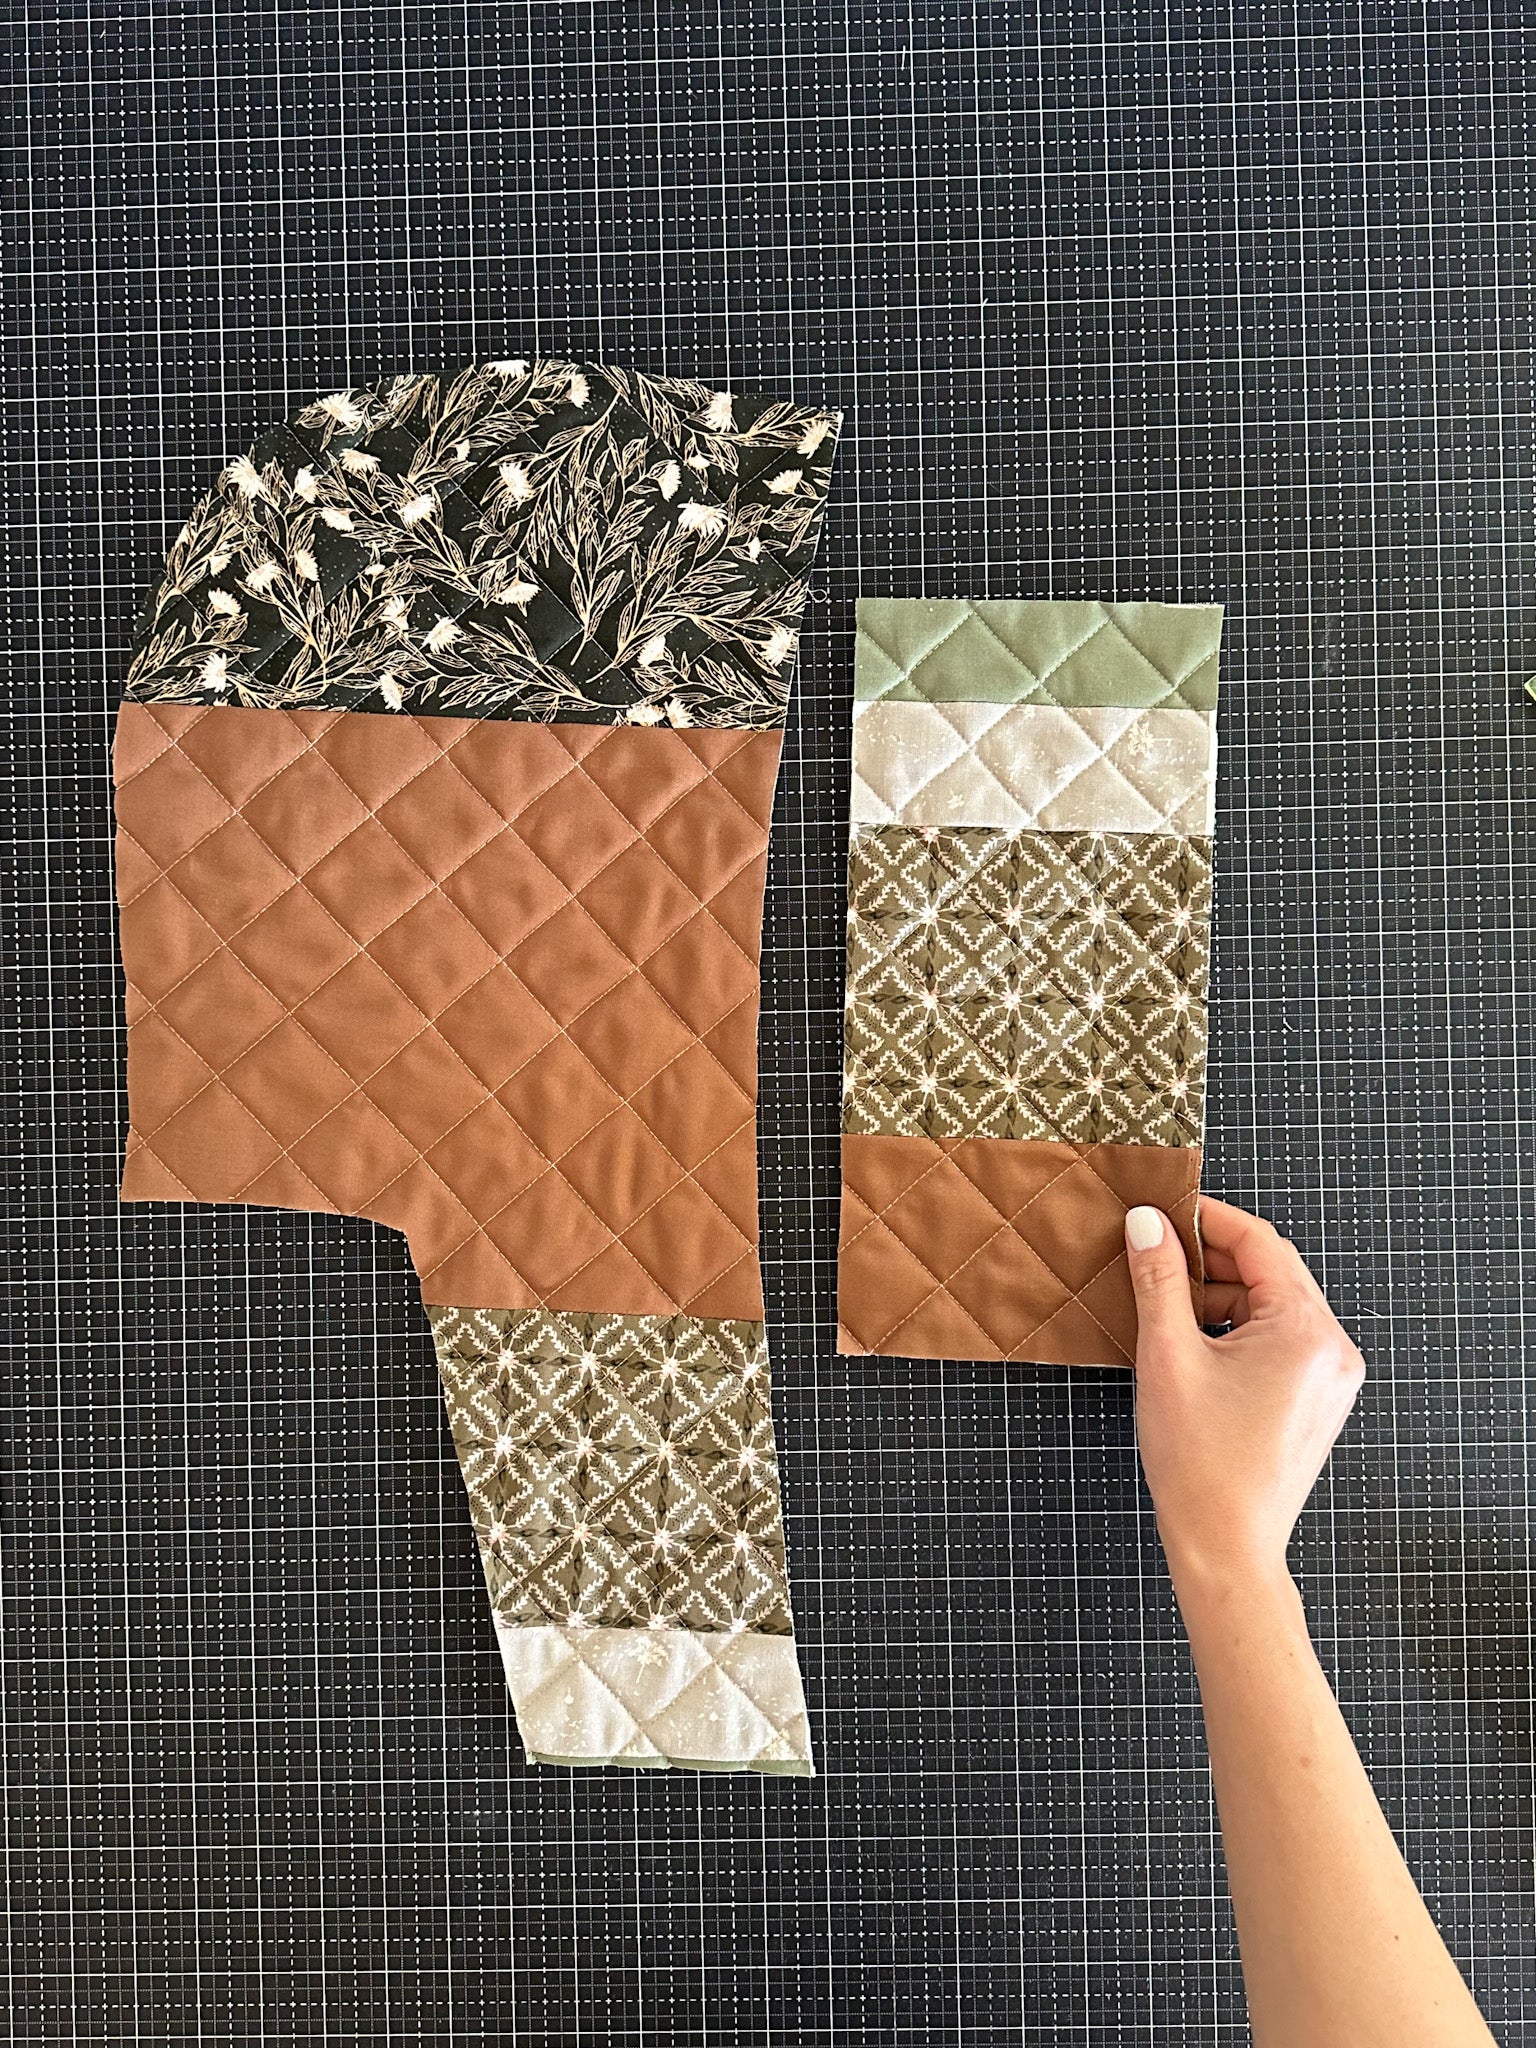
Step 3. Next take Sleeve template. Cut (2) sleeve sections.
Step 4. Cut (2) hood pieces. Remember to FLIP THE TEMPLATE after cutting the first section. You need two mirror images (shown in photo above), and this is only possible if you invert the template before cutting the second piece. I’ve made this mistake before, and it is devastating!! Finally, cut the pocket and (2) sleeve cuffs.
Step 5. Make your binding. I used (1) 3" x WOF strip and (1) 6" x WOF strip.
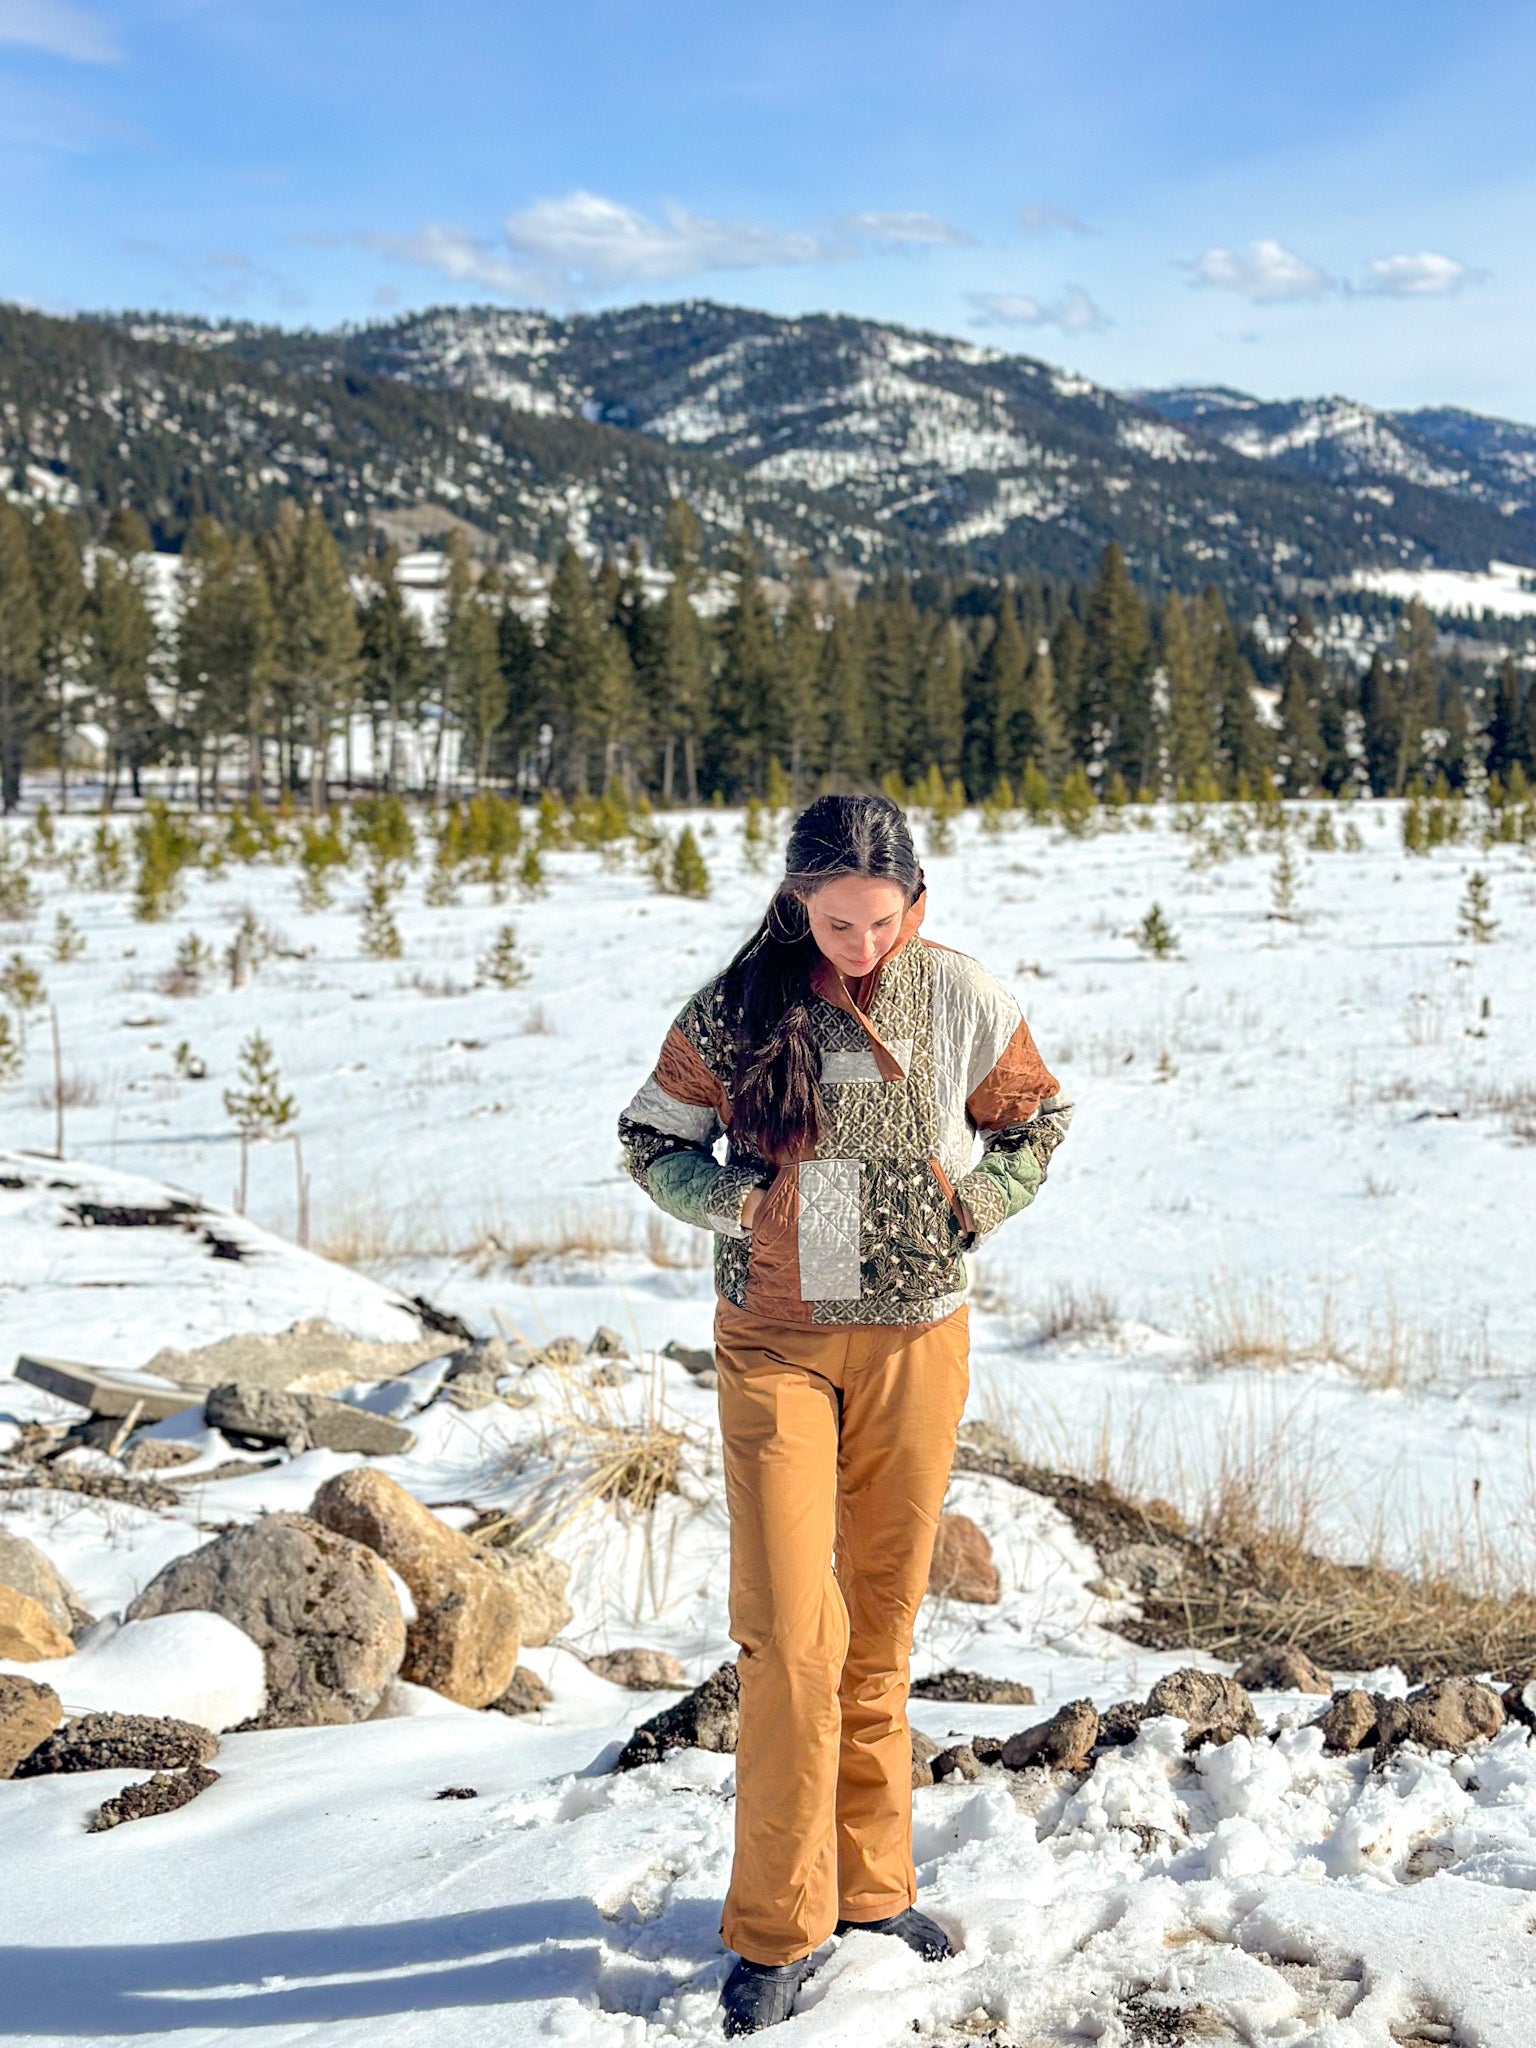
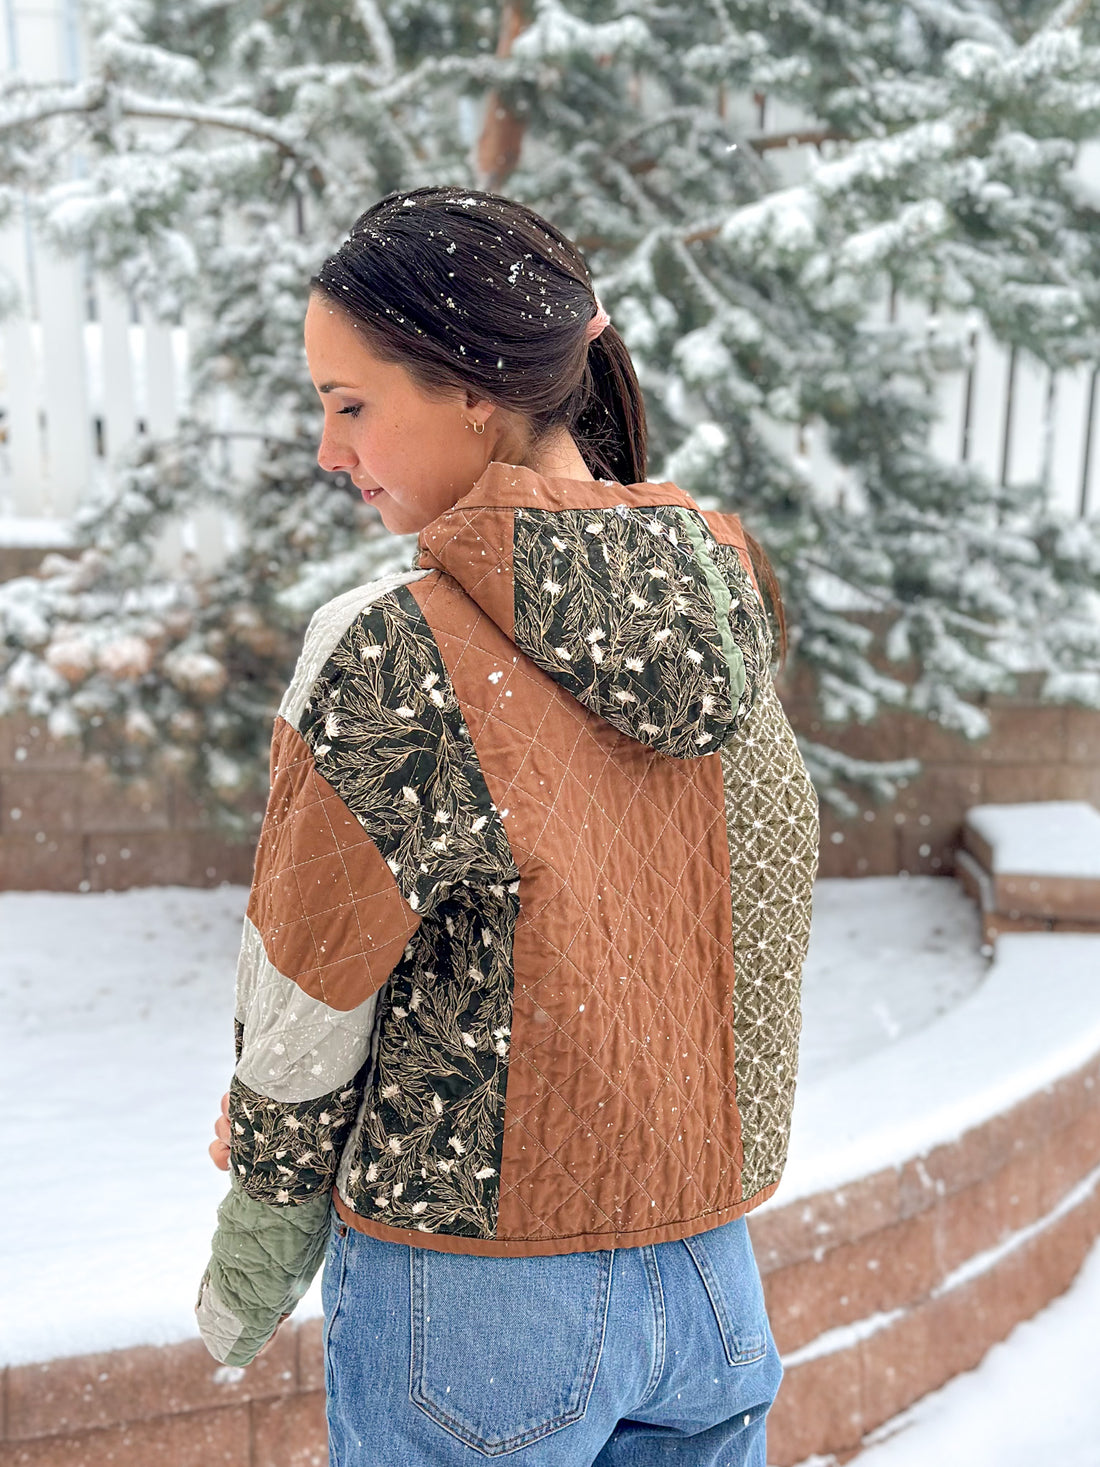
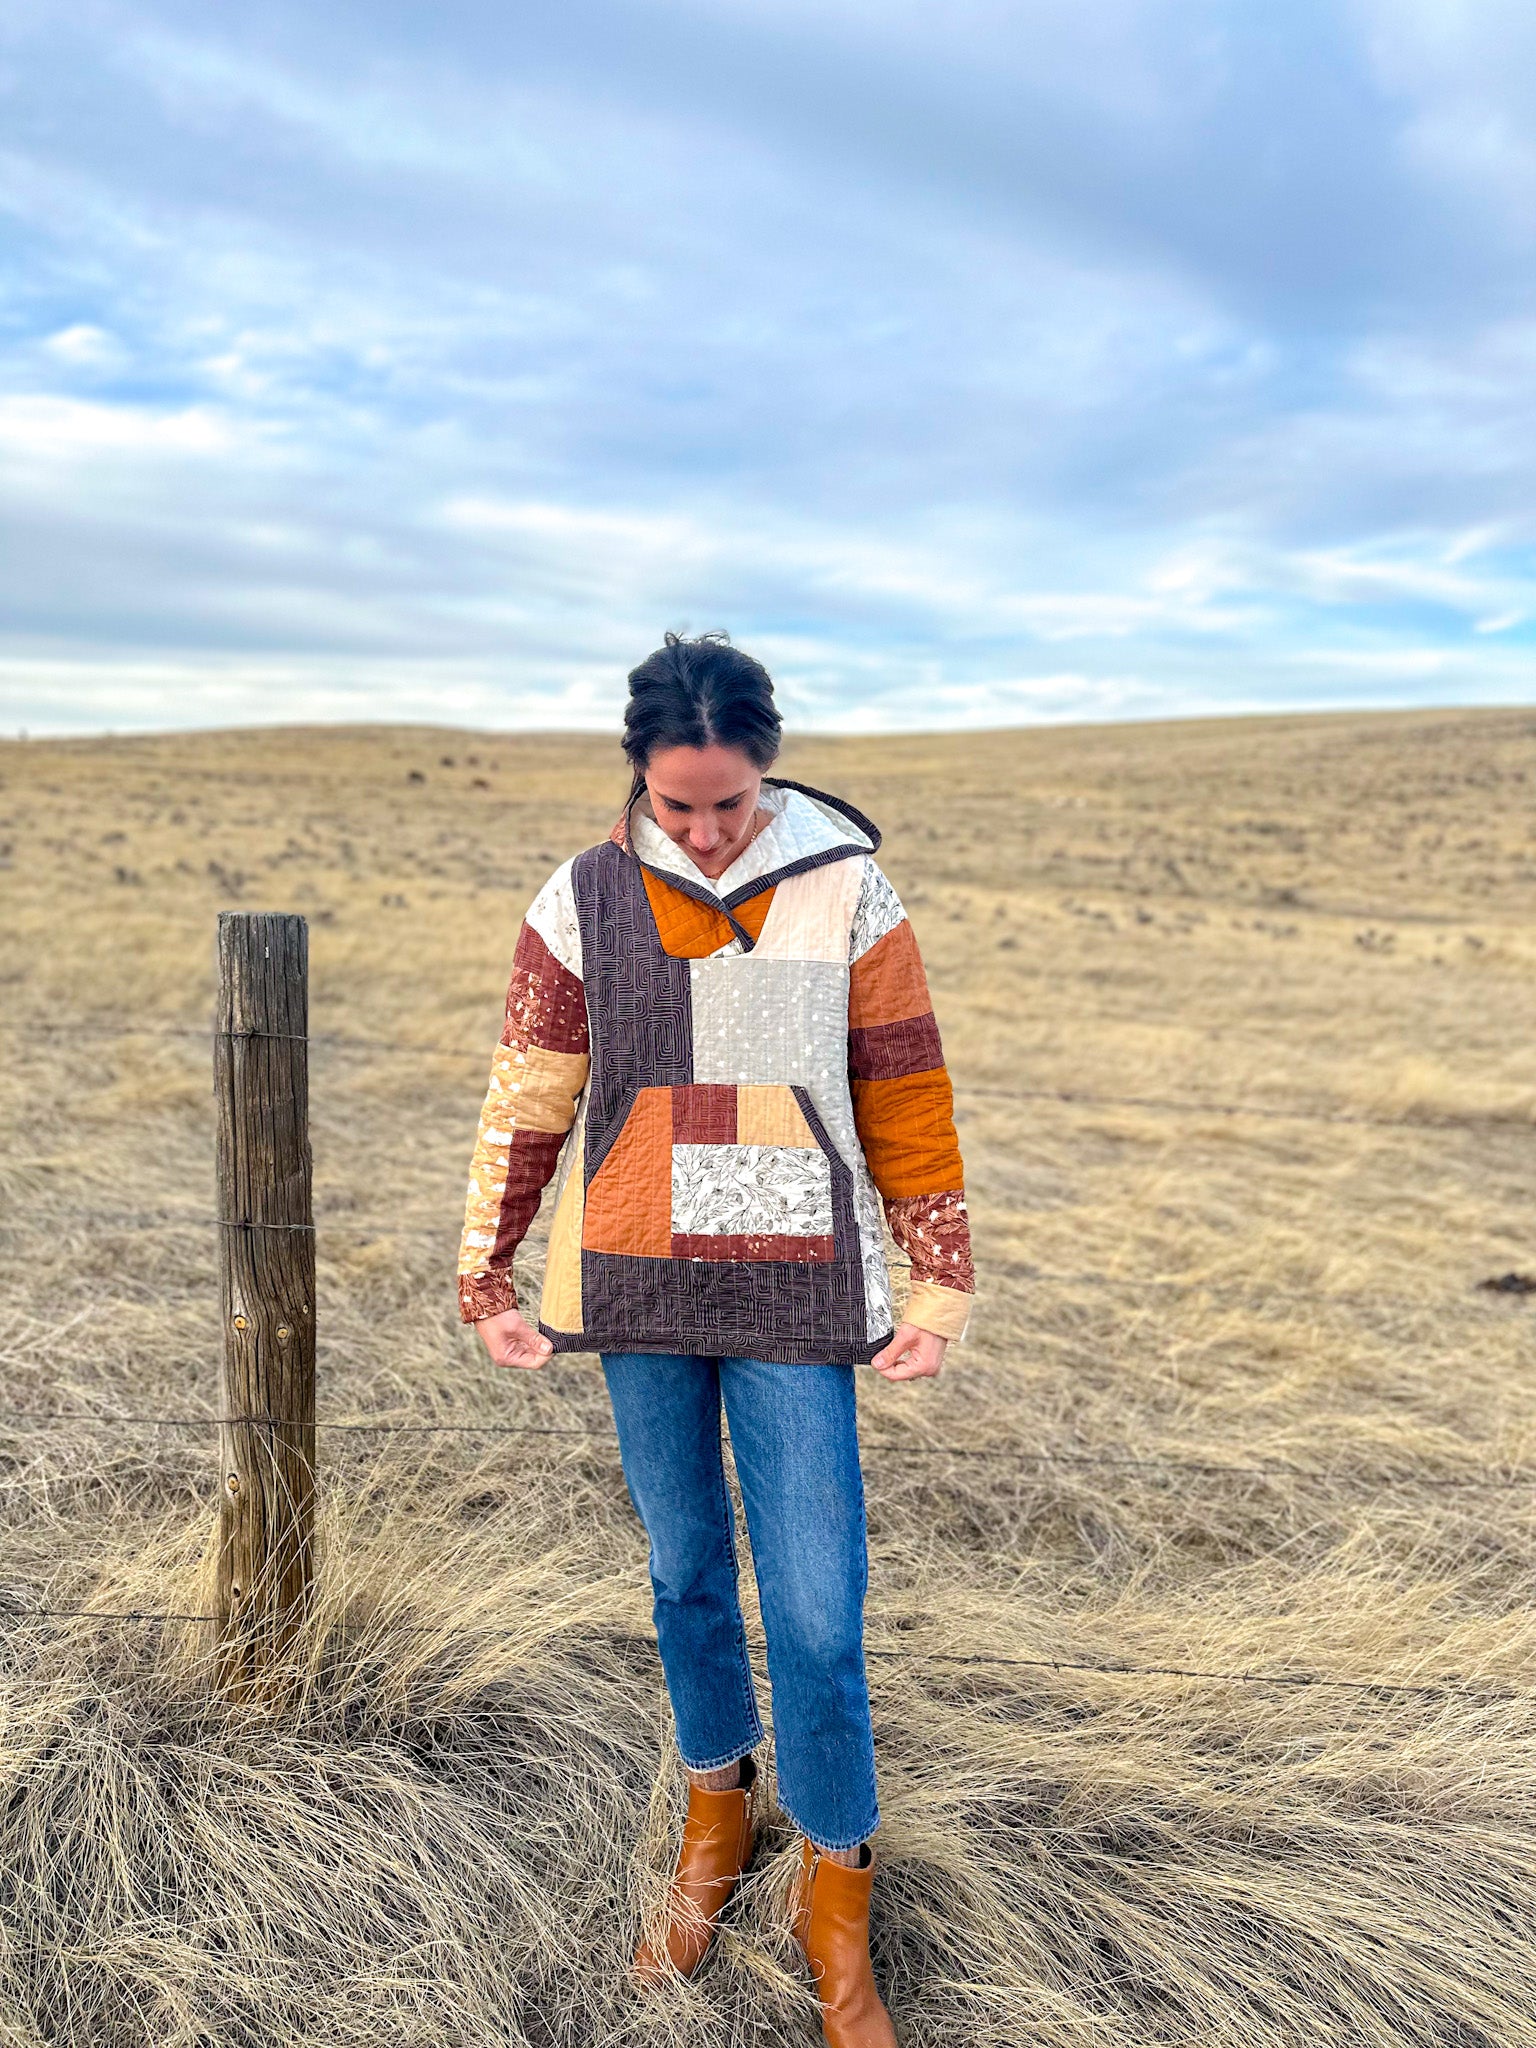
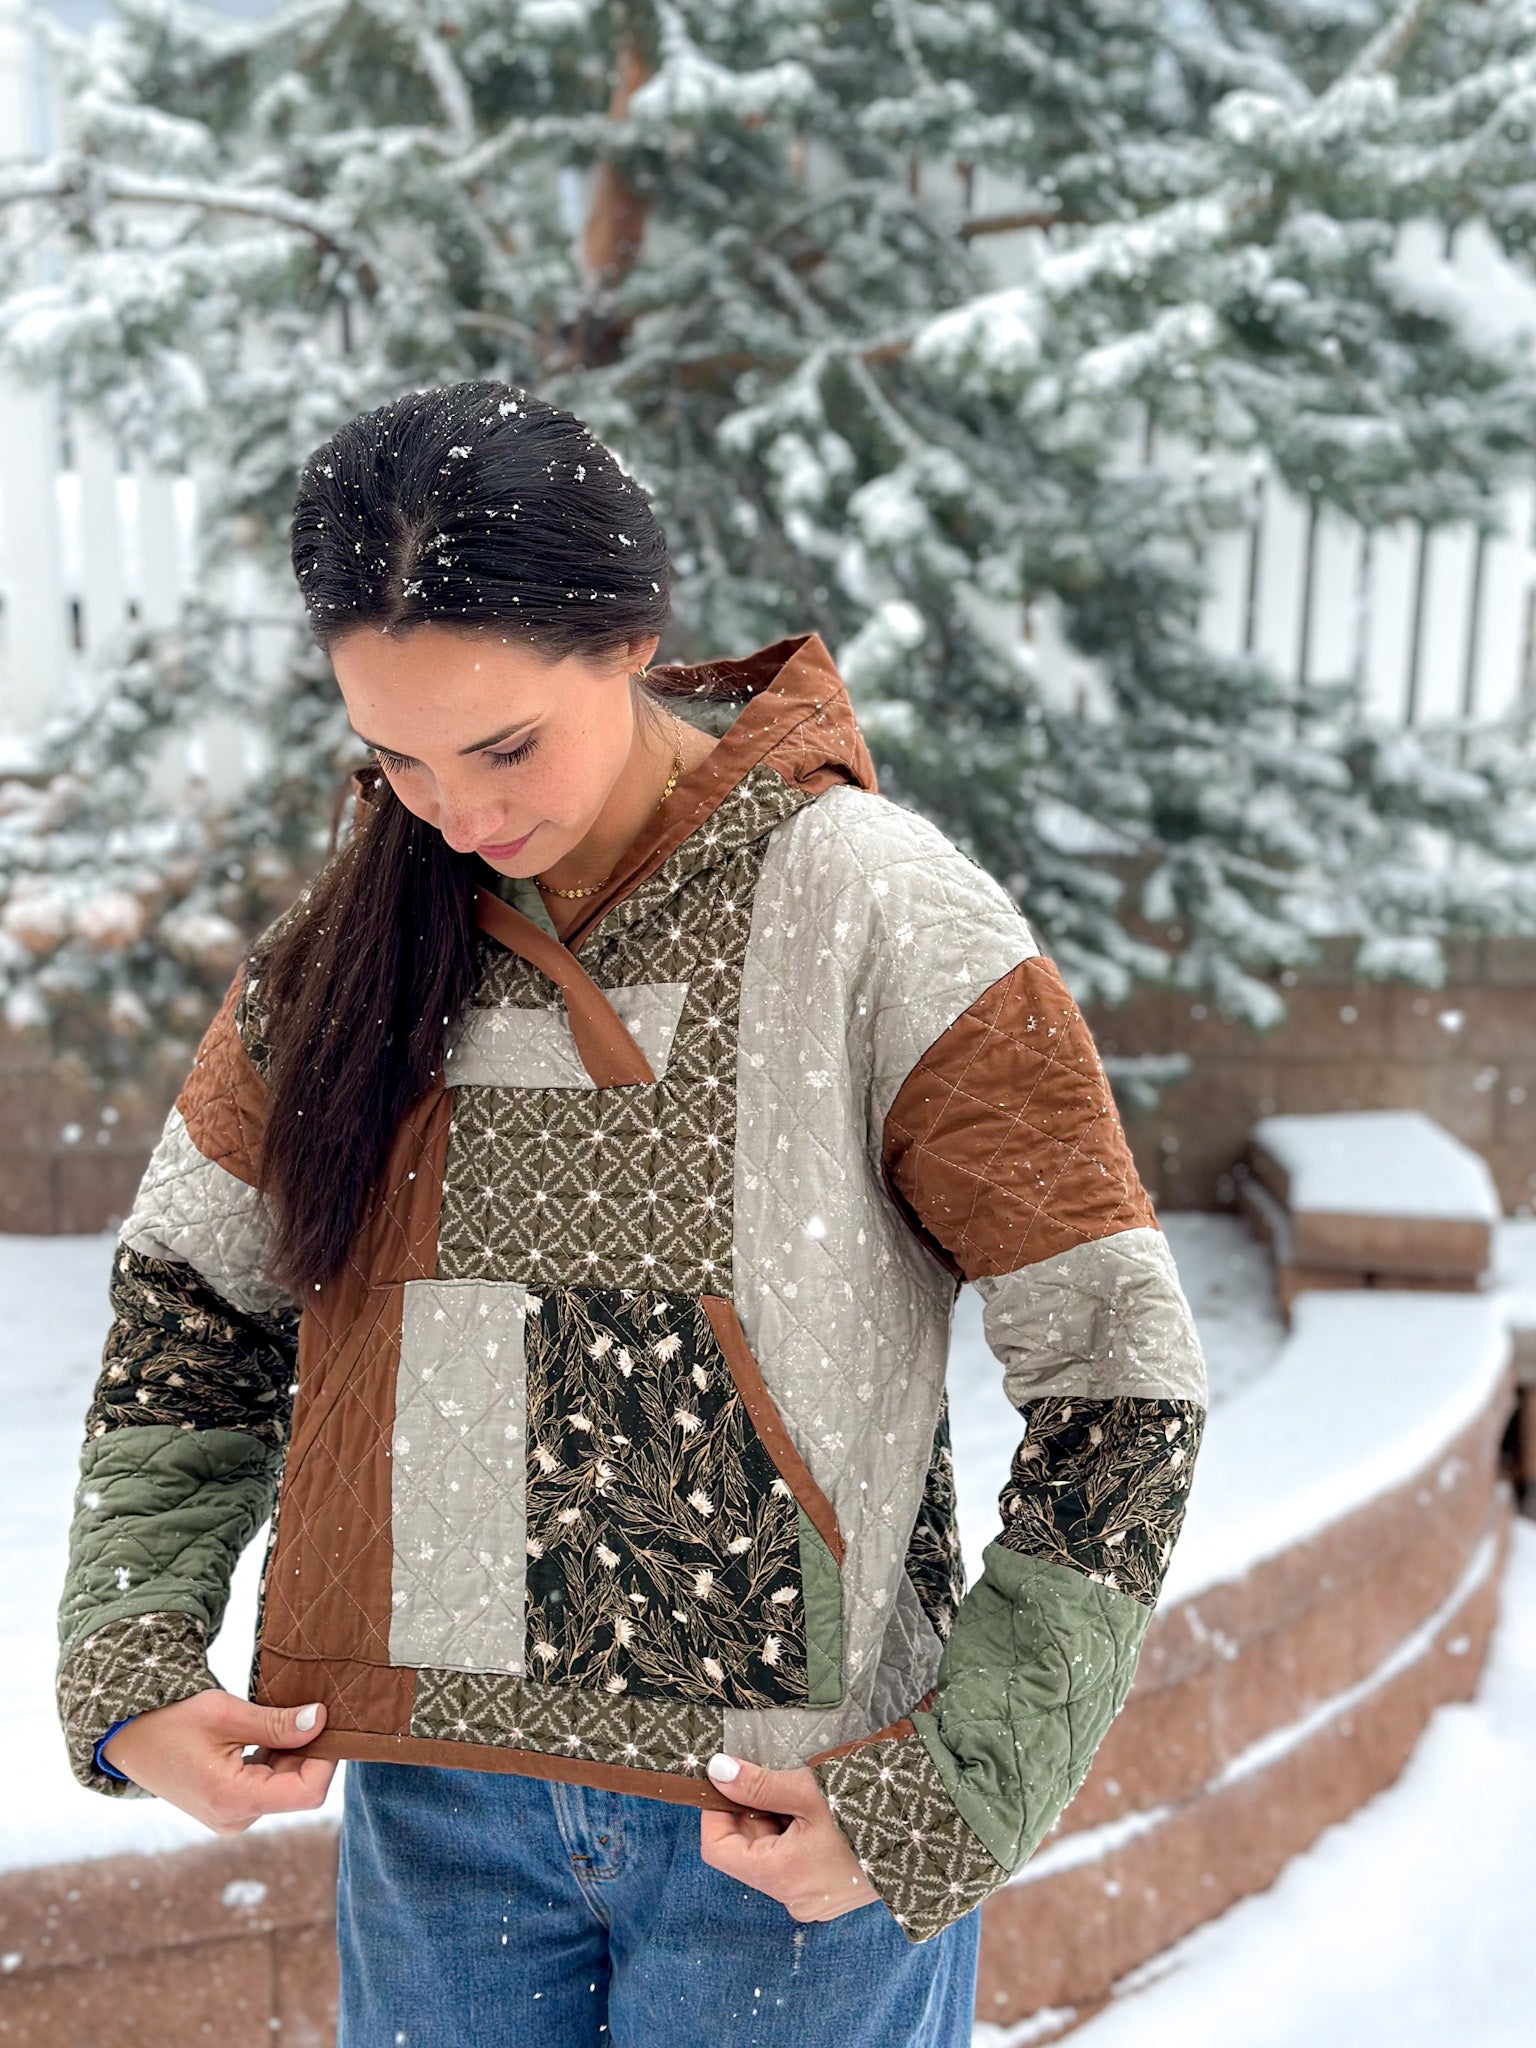
That's all for this week! But before you go, I want to share a few changes I made to my second hoodie. You can see the two versions below.
Pattern Adjustments
- Cropped lower hemline - I took about 4" off the second hoodie by marking a horizontal line 4" from the bottom of the front and back templates, then folded the templates along the line.
- Widened sleeve holes - I cut 1" below the template along the edge of the sleeve hole. I hoped it would be easier to take the sweatshirt on and off, but honestly - it didn't make much of a difference. The quilted fabric is inflexible, even with a little extra room.
- Widened sleeve panel - To accommodate the larger sleeve holes, I widened the sleeve itself by 1" by cutting 1" outside the sides of the templates (leaving the top and bottom the same) - it also really didn't change the fit.
- Larger neckline - This was the best adjustment. I wanted a wider binding on the hood which required a larger attachment surface. The binding was 1.5" wide (6" binding strips), so with the front panel folded in half, I cut 1.5" deeper into the neckline. If widening the neckline, just remember, you have to compensate by adding width with the binding or changing the shape of your hood sections.
Let me know what you think, and be sure to tag me @wellspringdesigns_co in your progress photos and used #QuiltedHoodie to help me find you! I have LOVED seeing all of your gorgeous hoodies - each one is so amazing! You guys are just the best, and it has been so much fun making this project together!


14 comments
Now that I’ve cut all my pieces for the muslin (test hoodie) I can hardly wait to see the actual sewing instructions! I’m using a thrifted flannel sheet for the muslin, thinking it will be very cozy!
Regarding pattern adjustments…
Does the pattern that we printed already incude these changes or are these changes that we should make to the pattern we have printed. Thanks!
I made the hood mistake on another project once. Now when I print out the pieces, I write in red marker right on the pattern piece – MAKE SURE TO FLIP!!
I’ve been doing a lot of thinking but no doing yet! For ease off/on how about putting a zipper in one of the jacket side seams? I had a hooded pullover ski jacket years ago that had it and it helped. Also, to test the size going to make a practice one out of an old bedsheet so won’t have any regrets if I mess up!
I am loving this pattern and made it twice now. Thank you for all of your instruction. I find the hardest part is inserting the hoodie overlap into the front neckline. Did you find that making the front neckline wider made that part easier by chance?